


|
|
|
|
by Editor Michel Romaggi in collaboration with the author Hadi Malijani
Edited and published by Yvette Depaepe, the 9th of September 2026
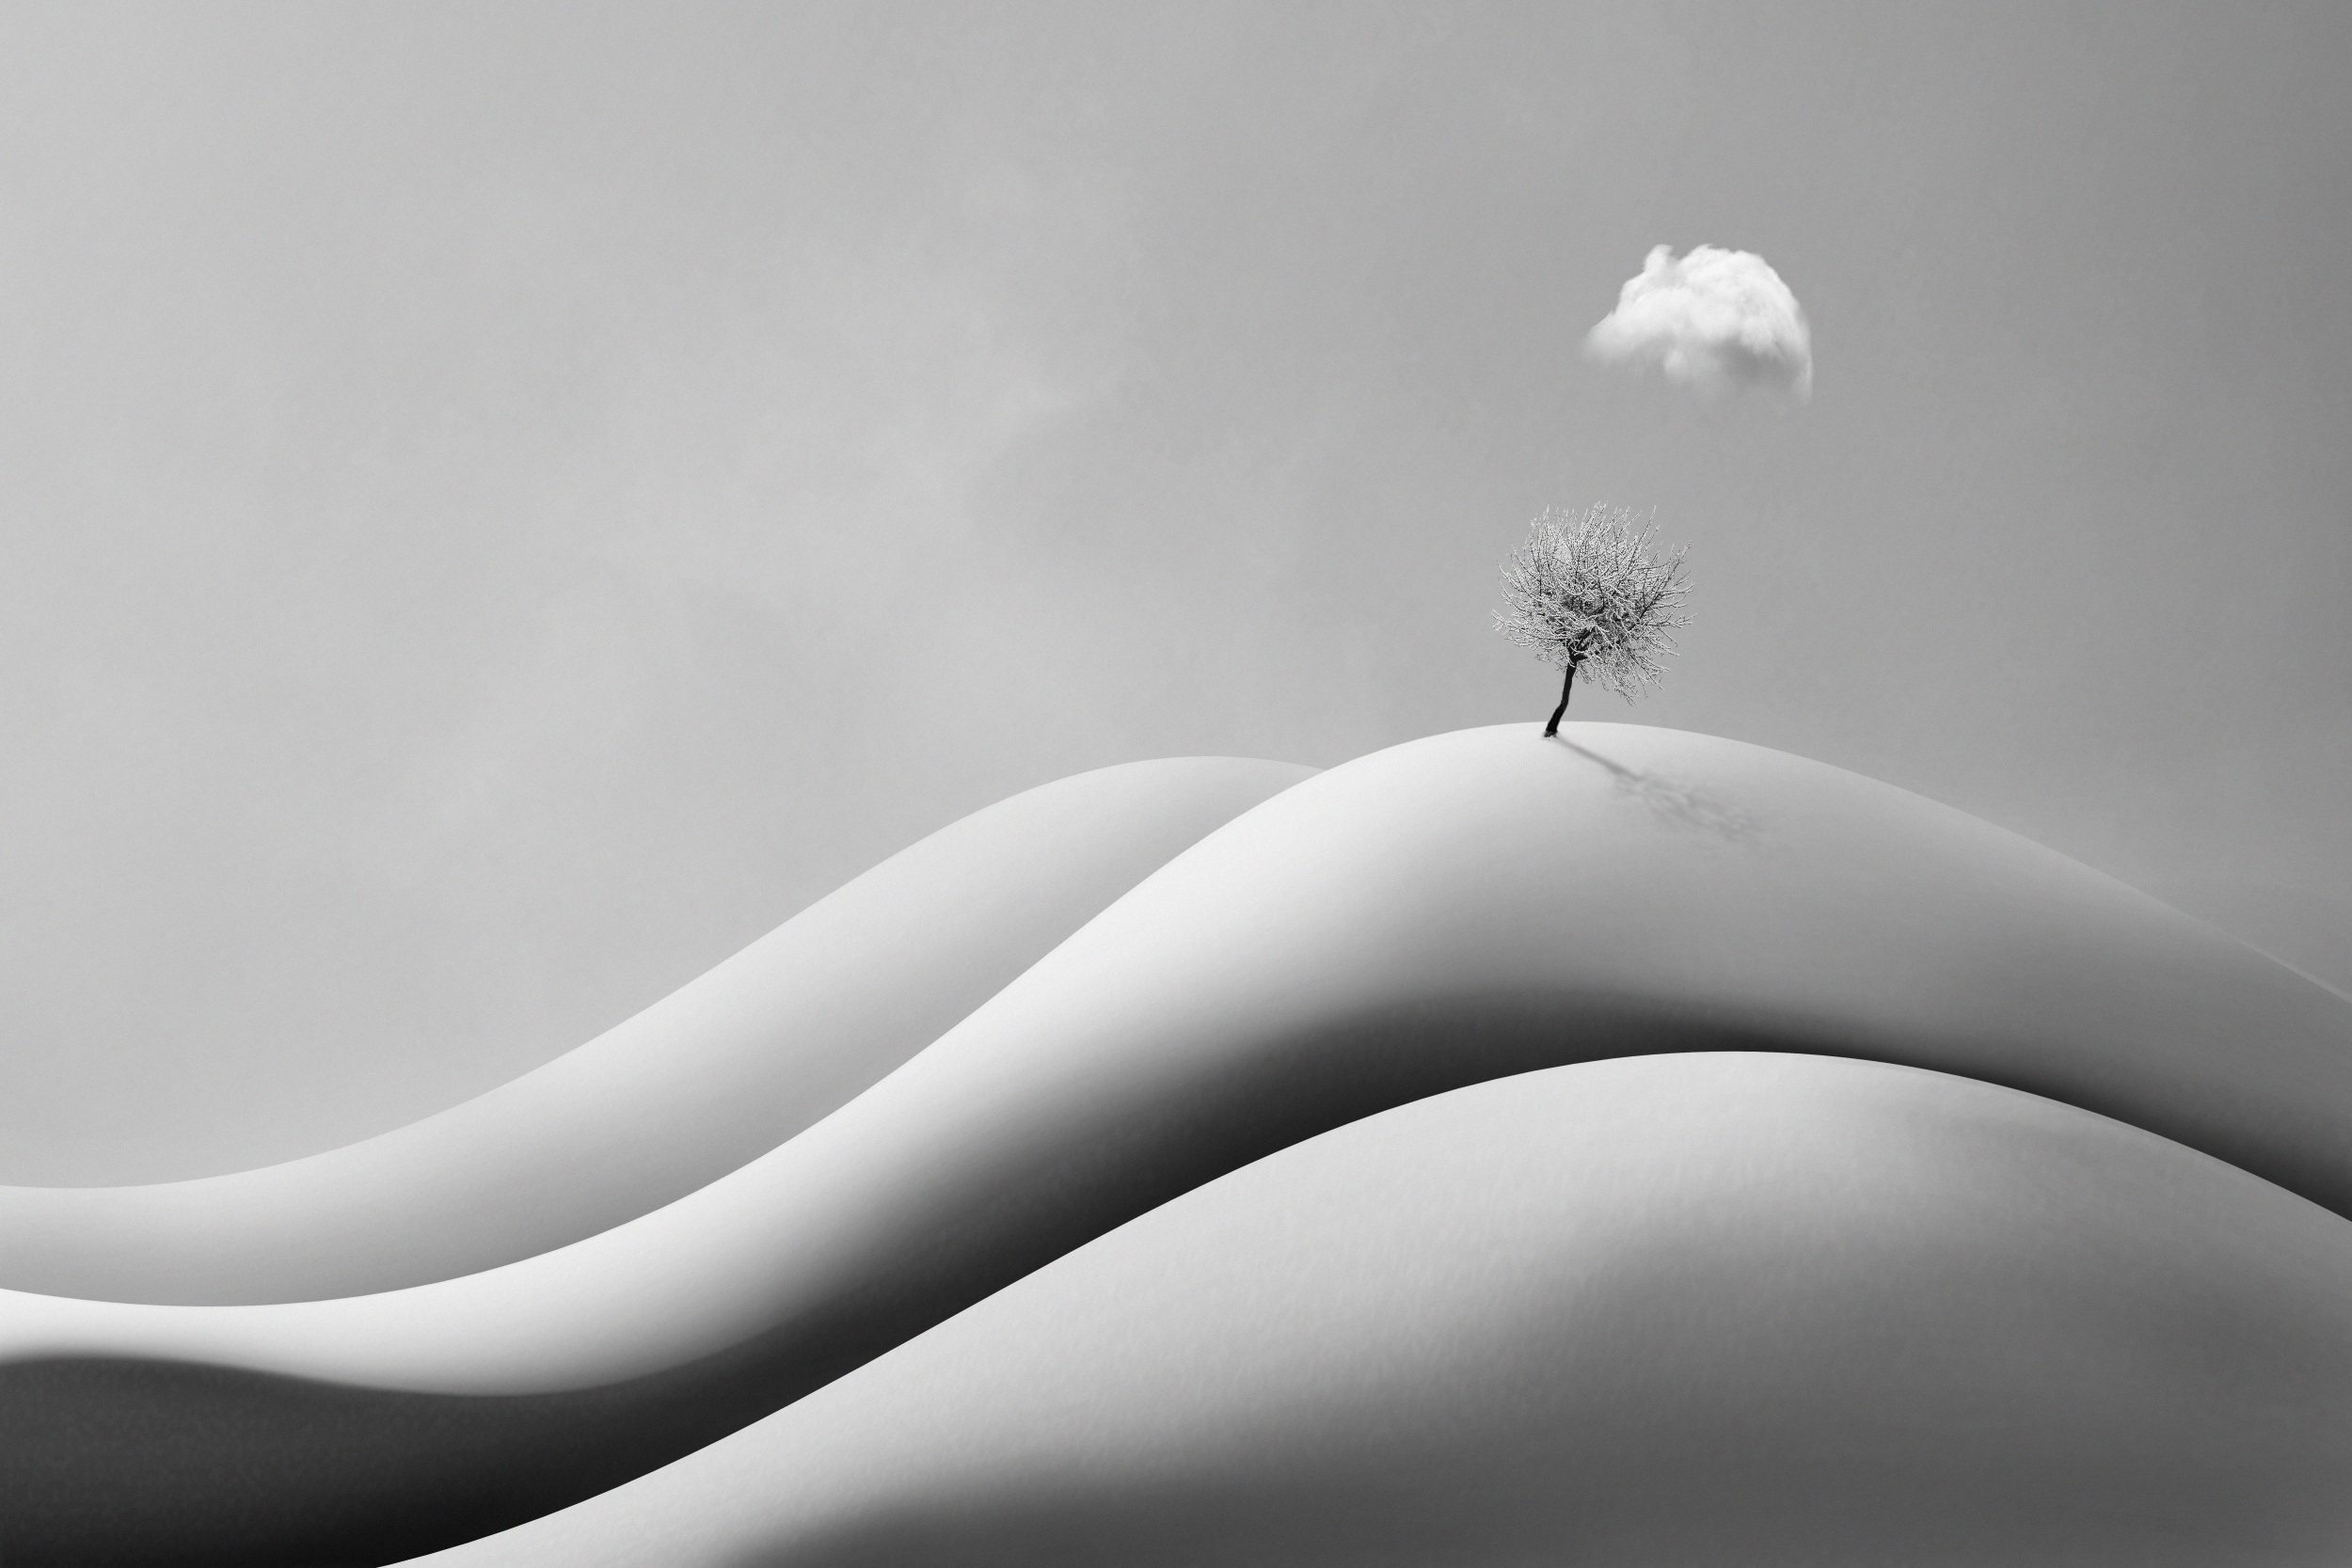
‘Quiet’
Could you describe the different steps involved in creating « Quiet » for us, please?
Before starting the composition, I prepare all the photographic elements that will appear in the final image. This includes the tree, the cloud and any textures or other components that have been photographed separately. Having these elements ready from the outset enables me to concentrate fully on composition, lighting, and visual balance as the image gradually takes shape.
Although 'Quiet' appears simple at first, it evolved through a careful process of shaping, refining and balancing each element individually. Every adjustment — from the curves of the landscape to the direction of the light — was made with the intention of creating a calm and contemplative atmosphere.
DESIGNING THE FIRST HILL
The landscape starts with a basic white rectangular shape, which forms the basis of the first hill.
Using the 'Free Transform' → 'Warp' tool, I gradually reshape the rectangle into a smooth, organic curve. Rather than aiming for perfect symmetry, I make small adjustments until the silhouette feels natural and balanced. At this stage, I focus entirely on the flow of the curve since these lines establish the visual rhythm of the entire composition.
Although I have already added the background gradient at this point, matching the direction of the light across the hills, I keep it hidden during these early steps. This allows me to focus purely on the shape and construction of each hill, free from the distraction of the surrounding sky. I activate the gradient again once the hills are complete.
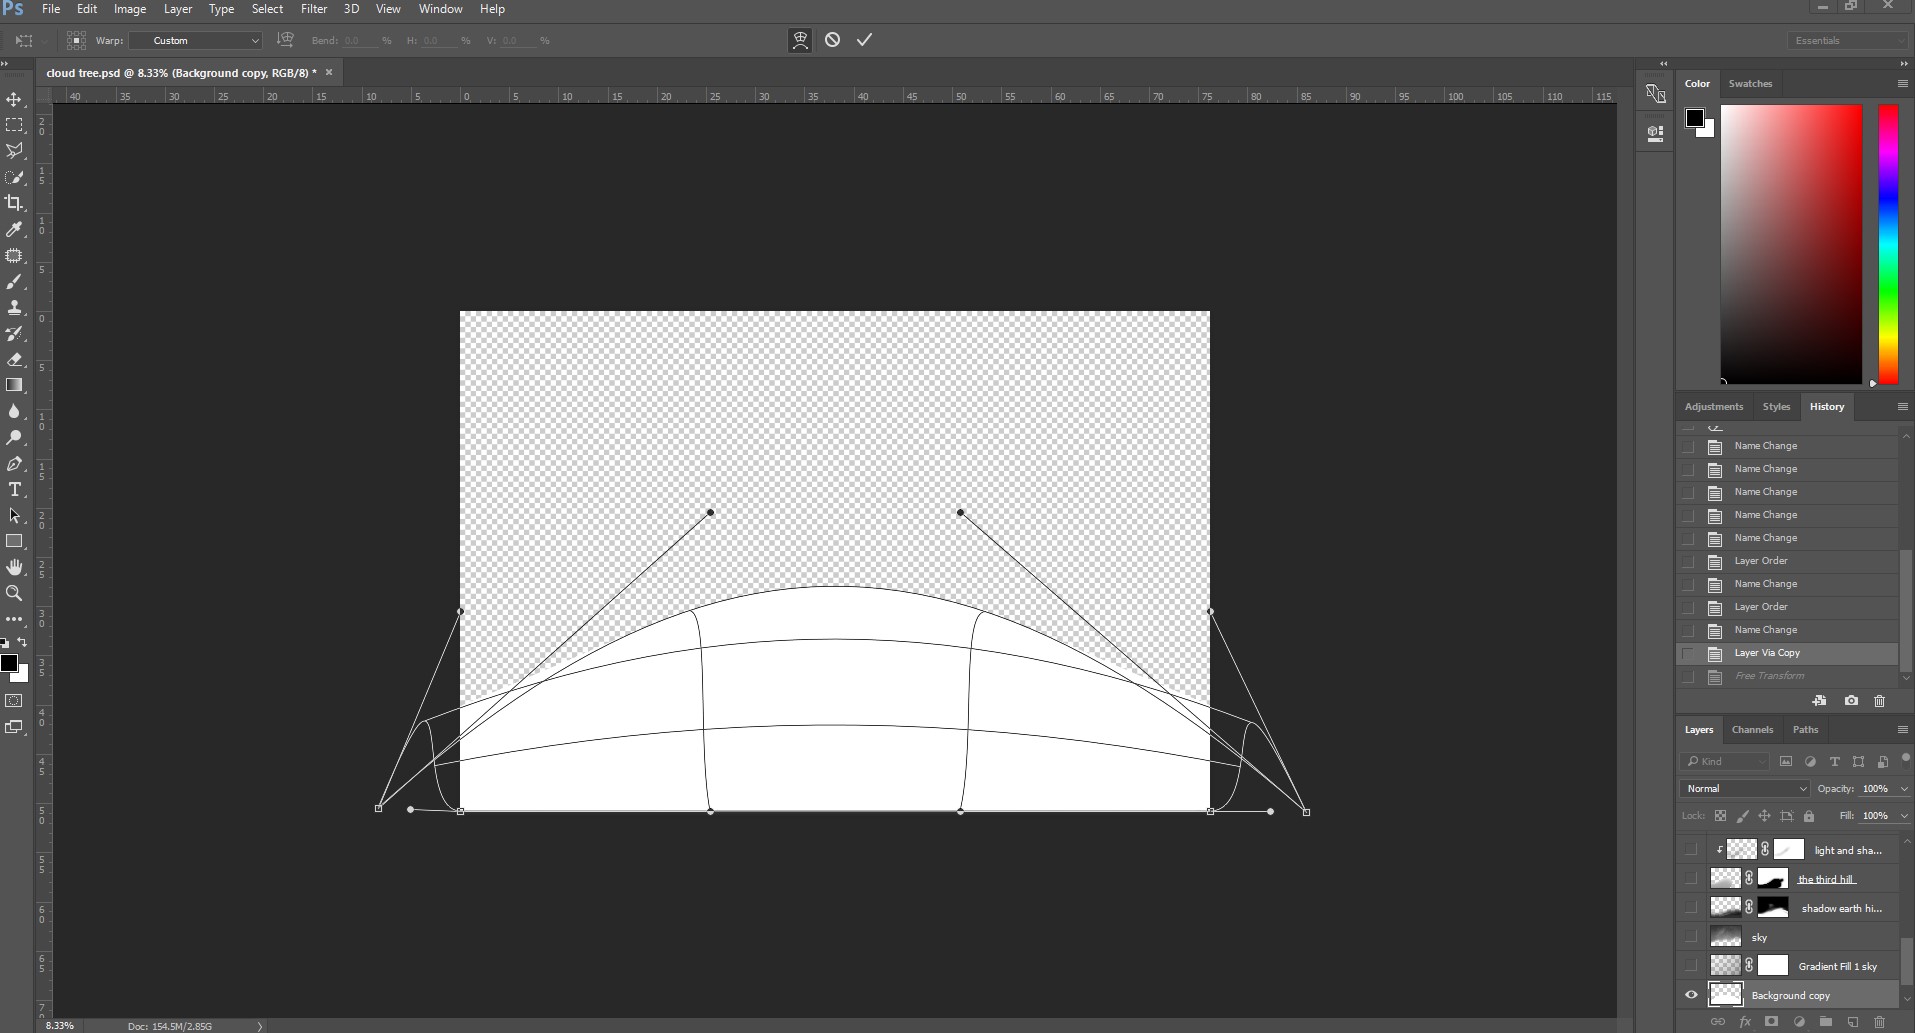
Shaping the first hill with Warp Transform.
CREATING SOFT VOLUME
Once the hill has taken its final shape, I use the Satin layer style to add depth. Instead of relying on dramatic lighting, I adjust the effect until the highlights and shadows create a subtle sense of volume.
The aim is to make the surface appear gently illuminated while maintaining the serene atmosphere that characterizes the image. This soft treatment then becomes the visual language for every subsequent hill.
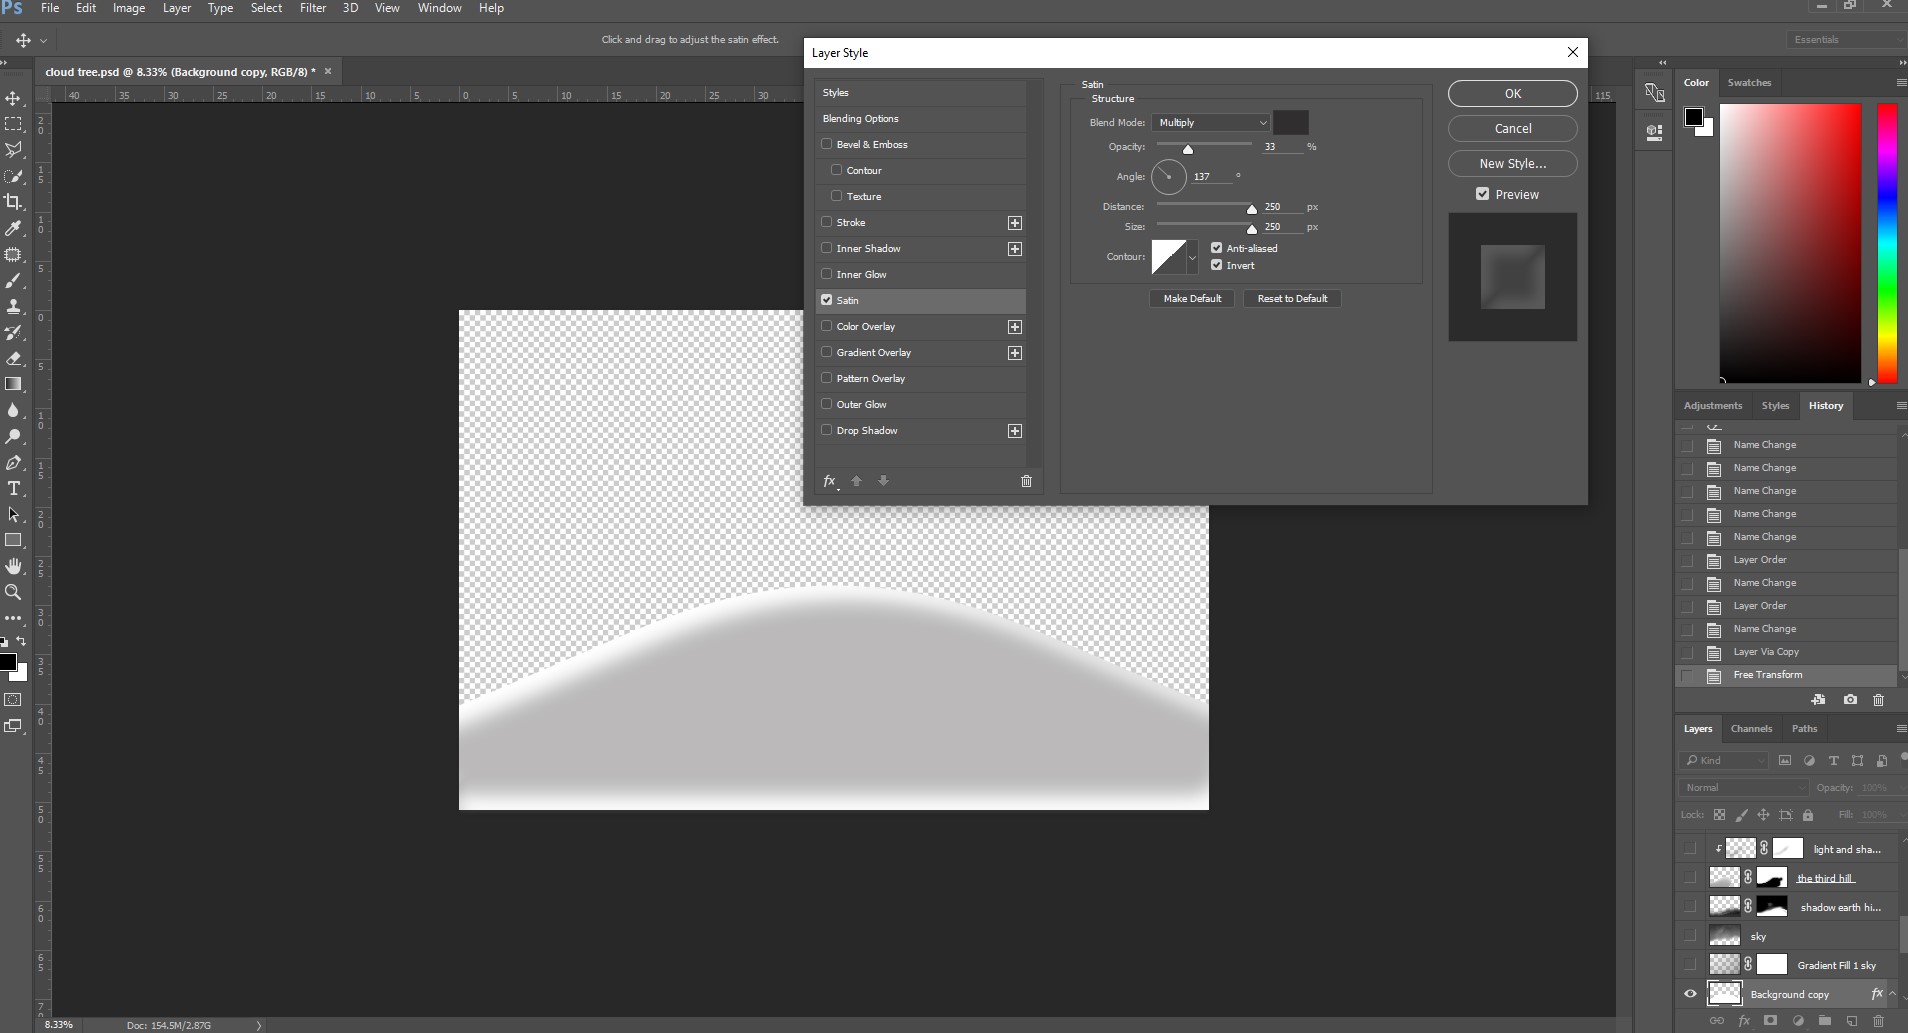
Using a subtle Satin effect to create gentle volume.
REFINING THE COMPOSITION
Once the hill is complete, I use Free Transform to position and scale it within the scene. Working with the hill against a transparent background enables me to refine its placement without any distractions.
At this stage, I assess how the curve interacts with the surrounding negative space, making minor adjustments until the composition feels balanced.
Sometimes the smallest adjustment can make the greatest difference. Shifting a hill by only a few pixels can completely alter the visual balance of the composition. At this stage, I rely on both my intuition and my technical judgement to refine the relationships between the elements until the scene feels quiet, balanced and complete.
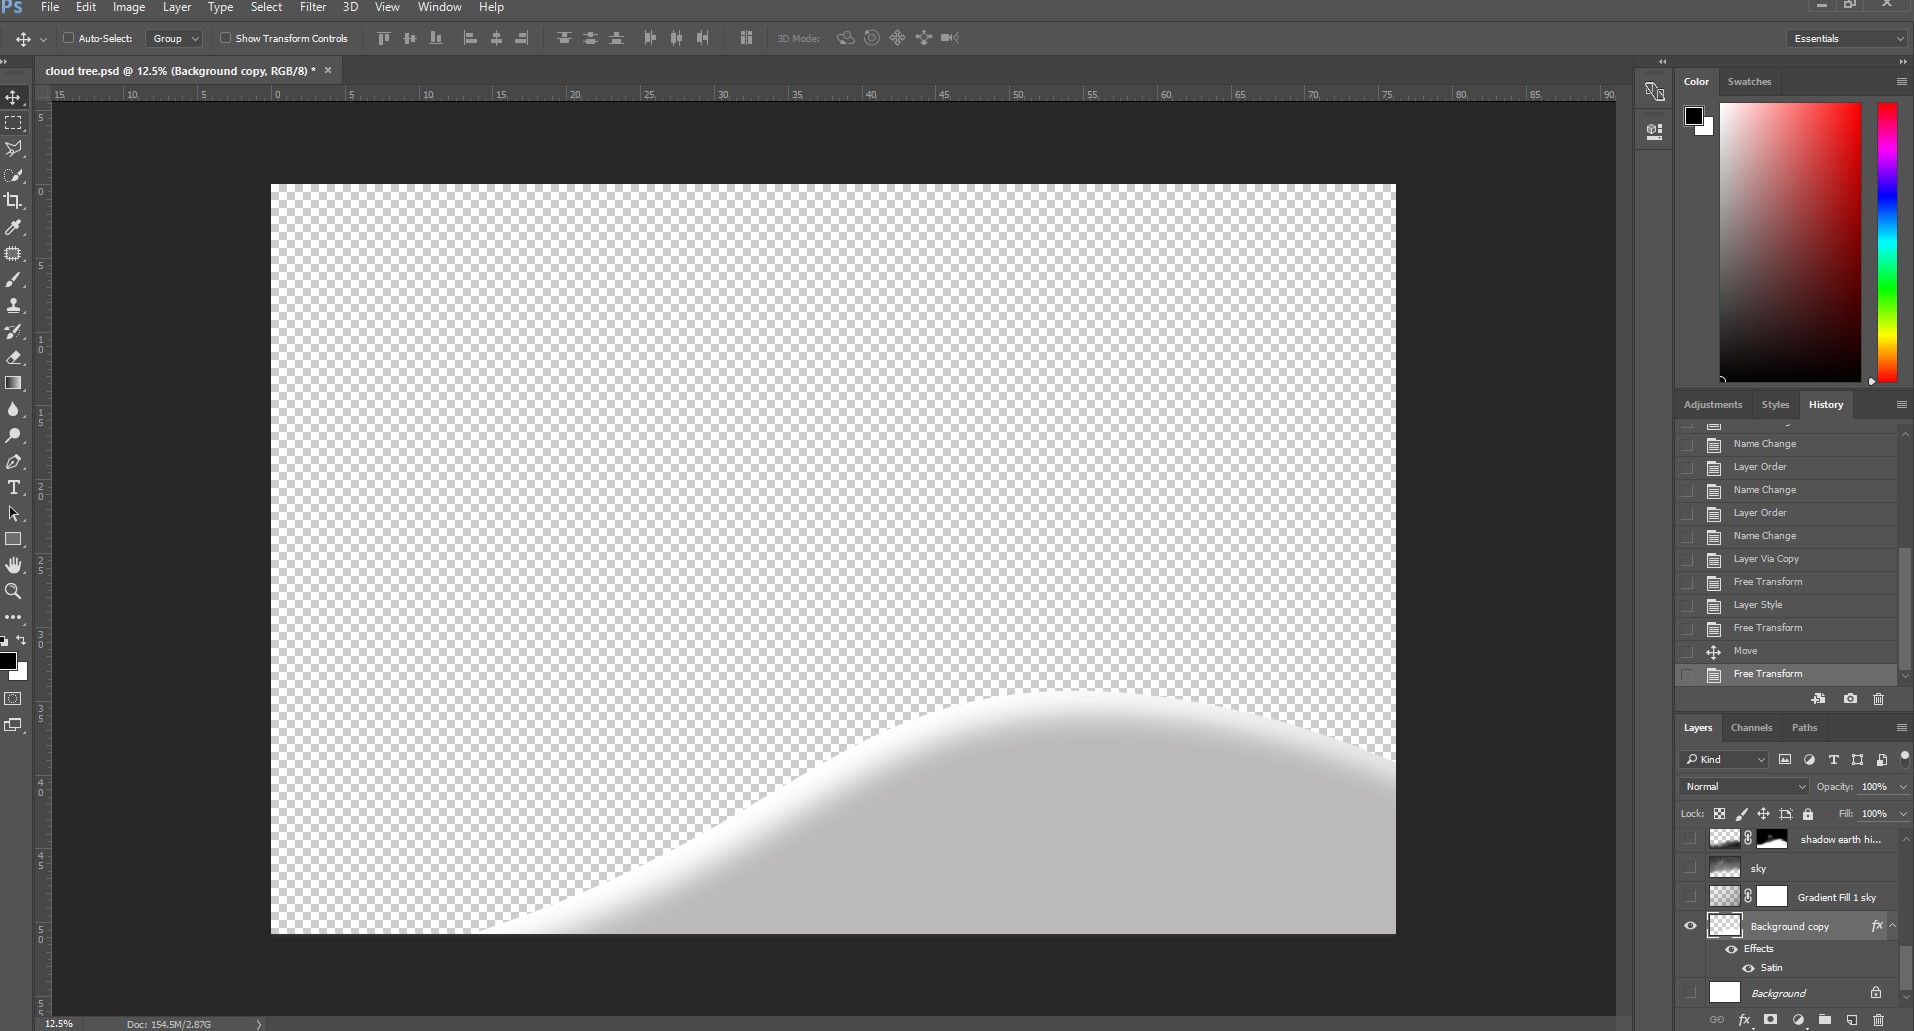
Positioning the first hill within the composition.
BUILDING THE LANDSCAPE
Additional hills are created using the same process, but each one is reshaped individually rather than being duplicated. This gives each curve its own character yet still maintains visual harmony across the landscape.
The overlapping shapes add depth and establish a gentle visual rhythm that naturally directs the viewer's gaze across the image.
At this stage, a soft gradient background is introduced to help separate the landscape from the sky and establish the quiet atmosphere of the final composition.
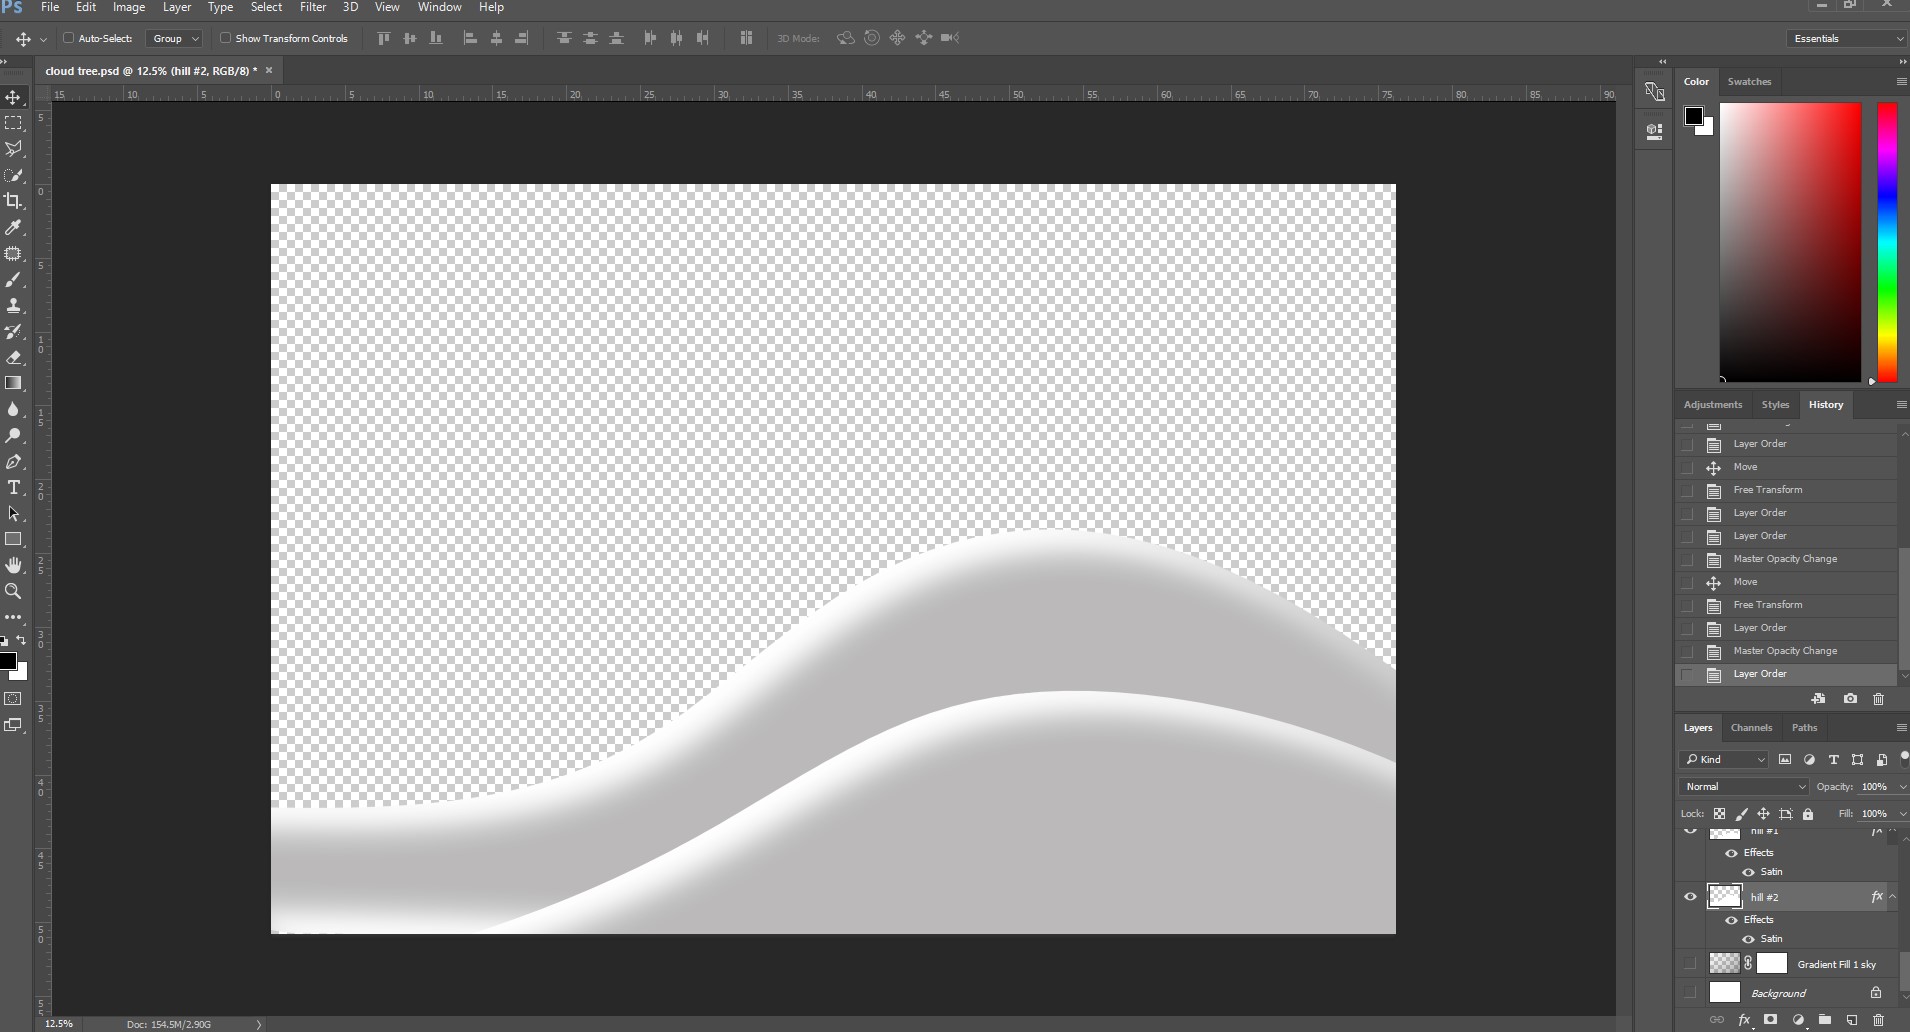
Building depth by layering individually shaped hills.
EVALUATION BALANCE
Now that the sky is visible again, I carefully examine the spacing, contrast and tonal balance of the hills in relation to one another.
At this stage, it's more about refining relationships than adding new elements. Even small adjustments to position or proportion can have a significant impact on the overall effect. of harmony.
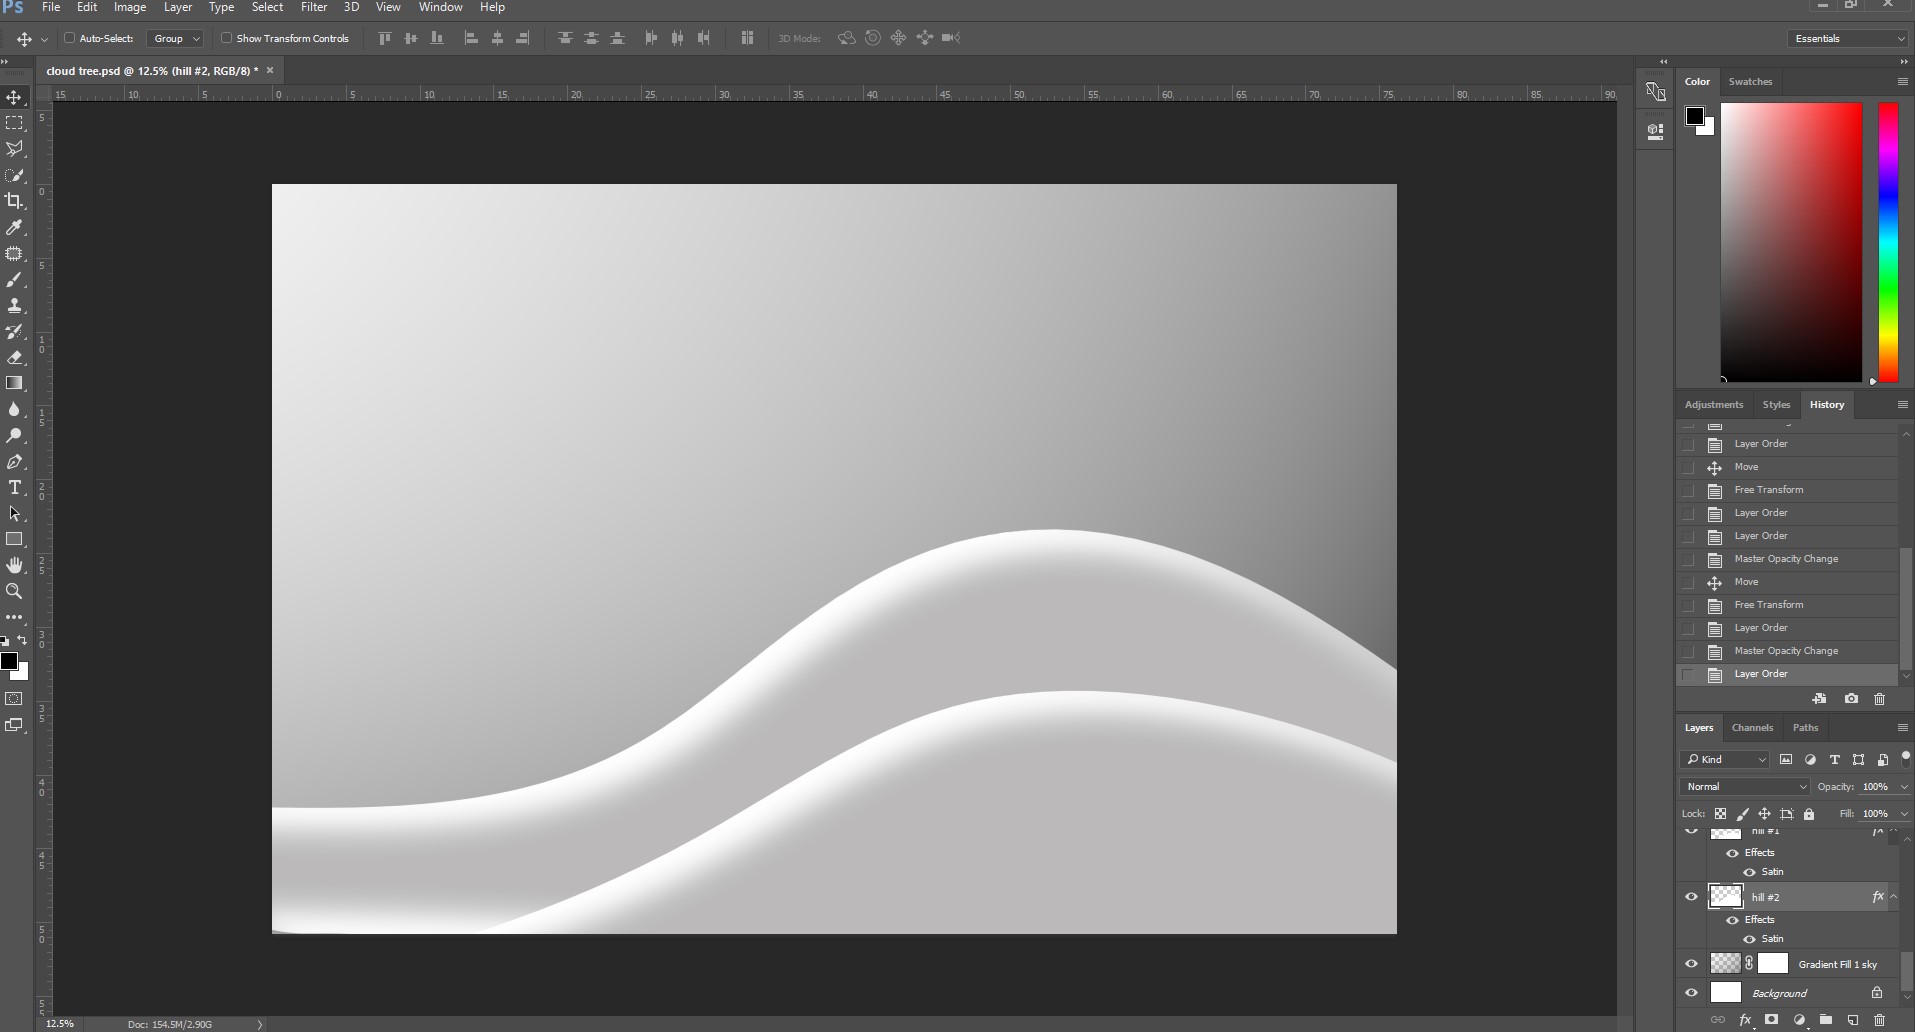
Reviewing the composition before introducing new elements.
REFINING THE SHADOWS
Although the satin effect initially creates the sense of volume, this is only the starting point. I manually paint additional shadows where needed using a soft brush tool on a separate layer. This enables me to create more natural-looking tonal transitions and strengthen the illusion of depth without making the lighting appear artificial.
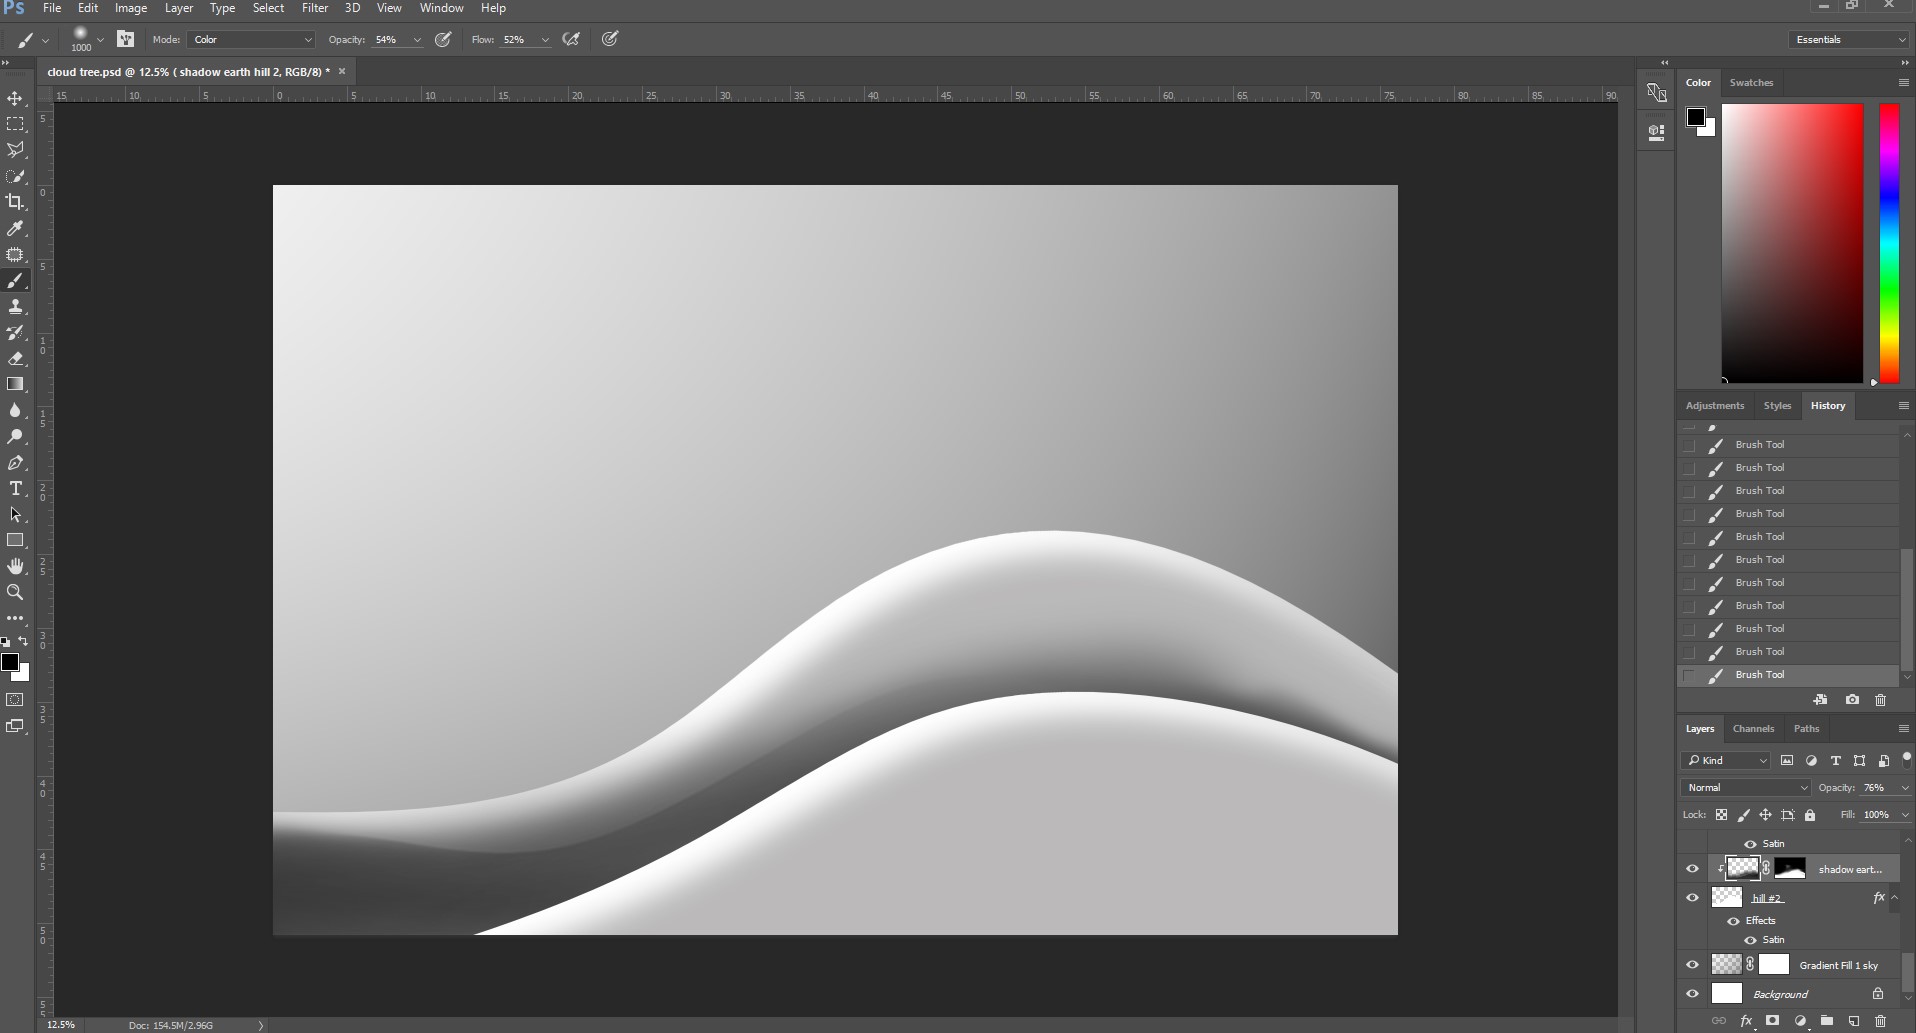
Enhancing depth with hand-painted shadows.
Once the hand-painted shadows are complete, I make the final adjustments to the lighting and tonal transitions across the landscape. At this stage, I also add subtle ground details to introduce natural textures without compromising the minimalist aesthetic.
These adjustments unify all the hills and establish a consistent sense of depth and light throughout the scene. Once the lighting, shadows and ground details are balanced, the composition is ready for the final stage: adding the tree, cloud and their shadows.
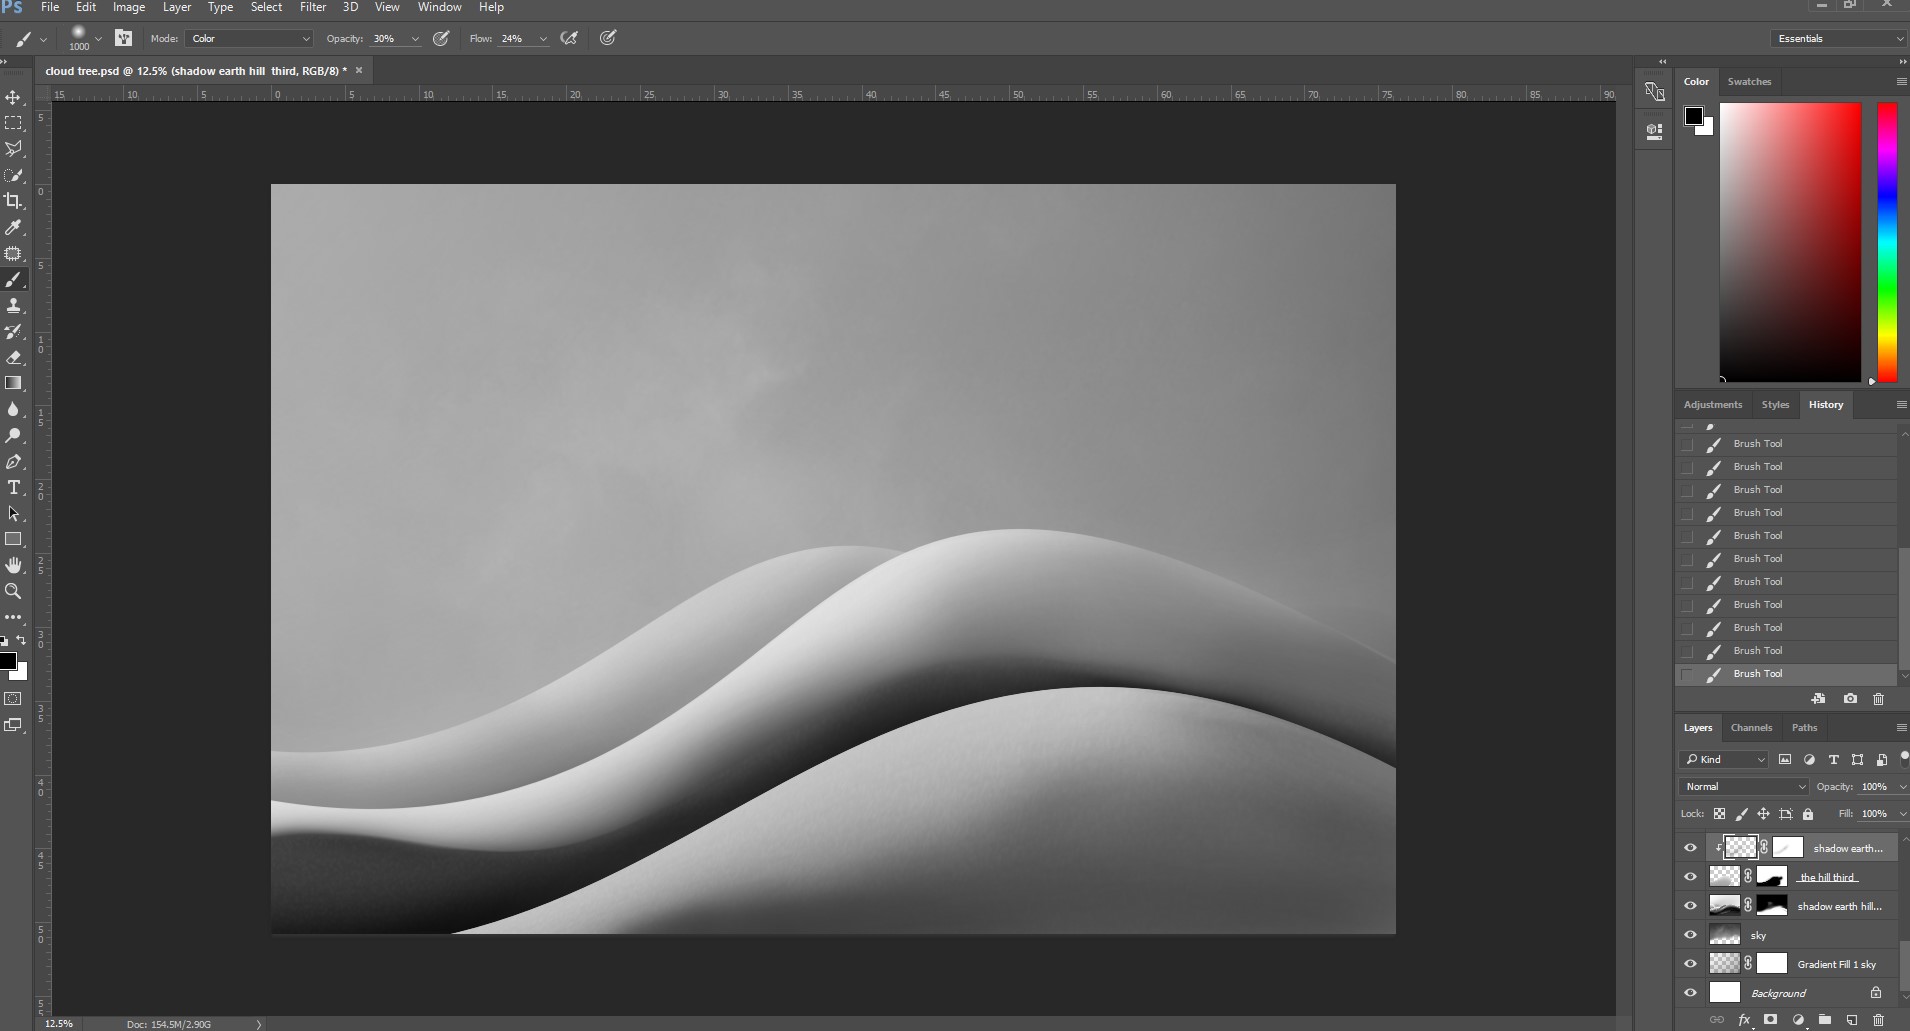
Finalizing the lighting, shadows, and ground details before adding the main photographic elements.
COMPLETING THE SCENE
Once the landscape is finished, I blend a ground texture that I have previously photographed into the hills to add a subtle organic quality, all the while preserving the minimalist aesthetic. Finally, I add the tree, the cloud and their shadows to the composition. Each element has been photographed separately and positioned carefully so that the direction and quality of the light remains consistent throughout the image. The final stage involves making subtle tonal adjustments and refining the image carefully to ensure that every element works together to communicate the quiet, contemplative atmosphere I envisioned.
Adding the final photographic elements and refining the atmosphere.
You usually create minimalist compositions. What led you to choose this style of expression?
I have always found minimalist compositions challenging. Creating an image that is both simple and emotionally powerful demands maturity and precision. In my view, minimalism demands creativity and a distinctive worldview.
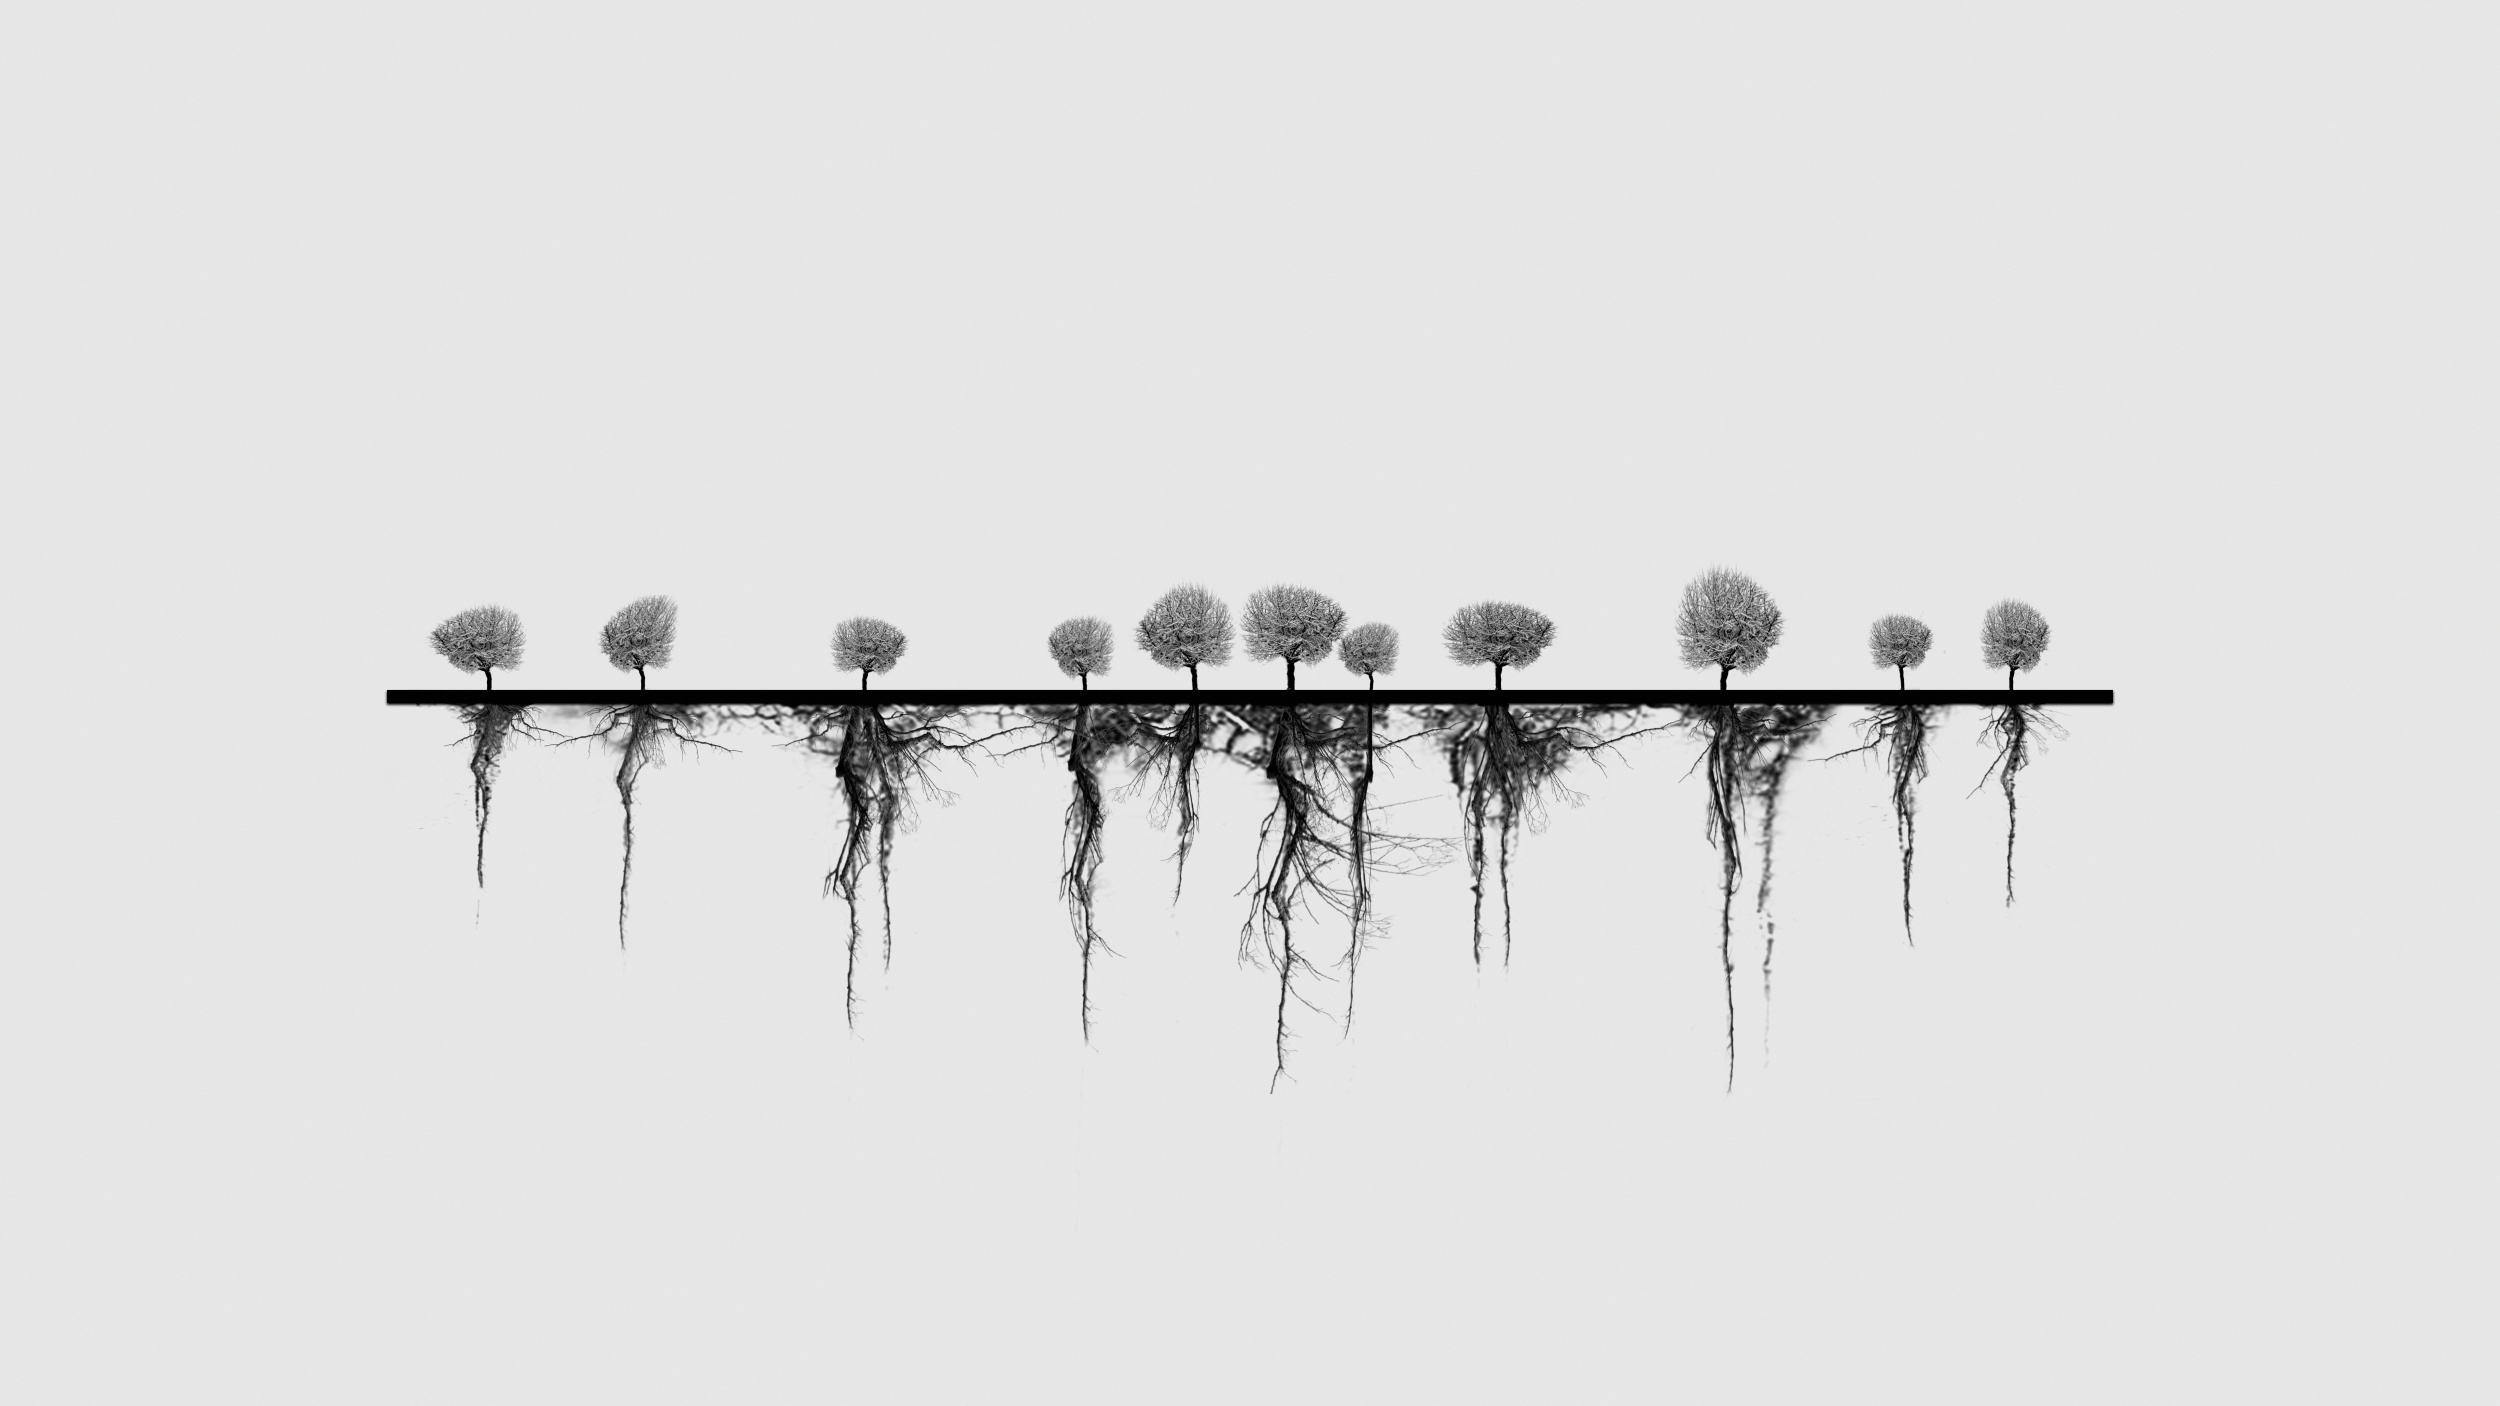
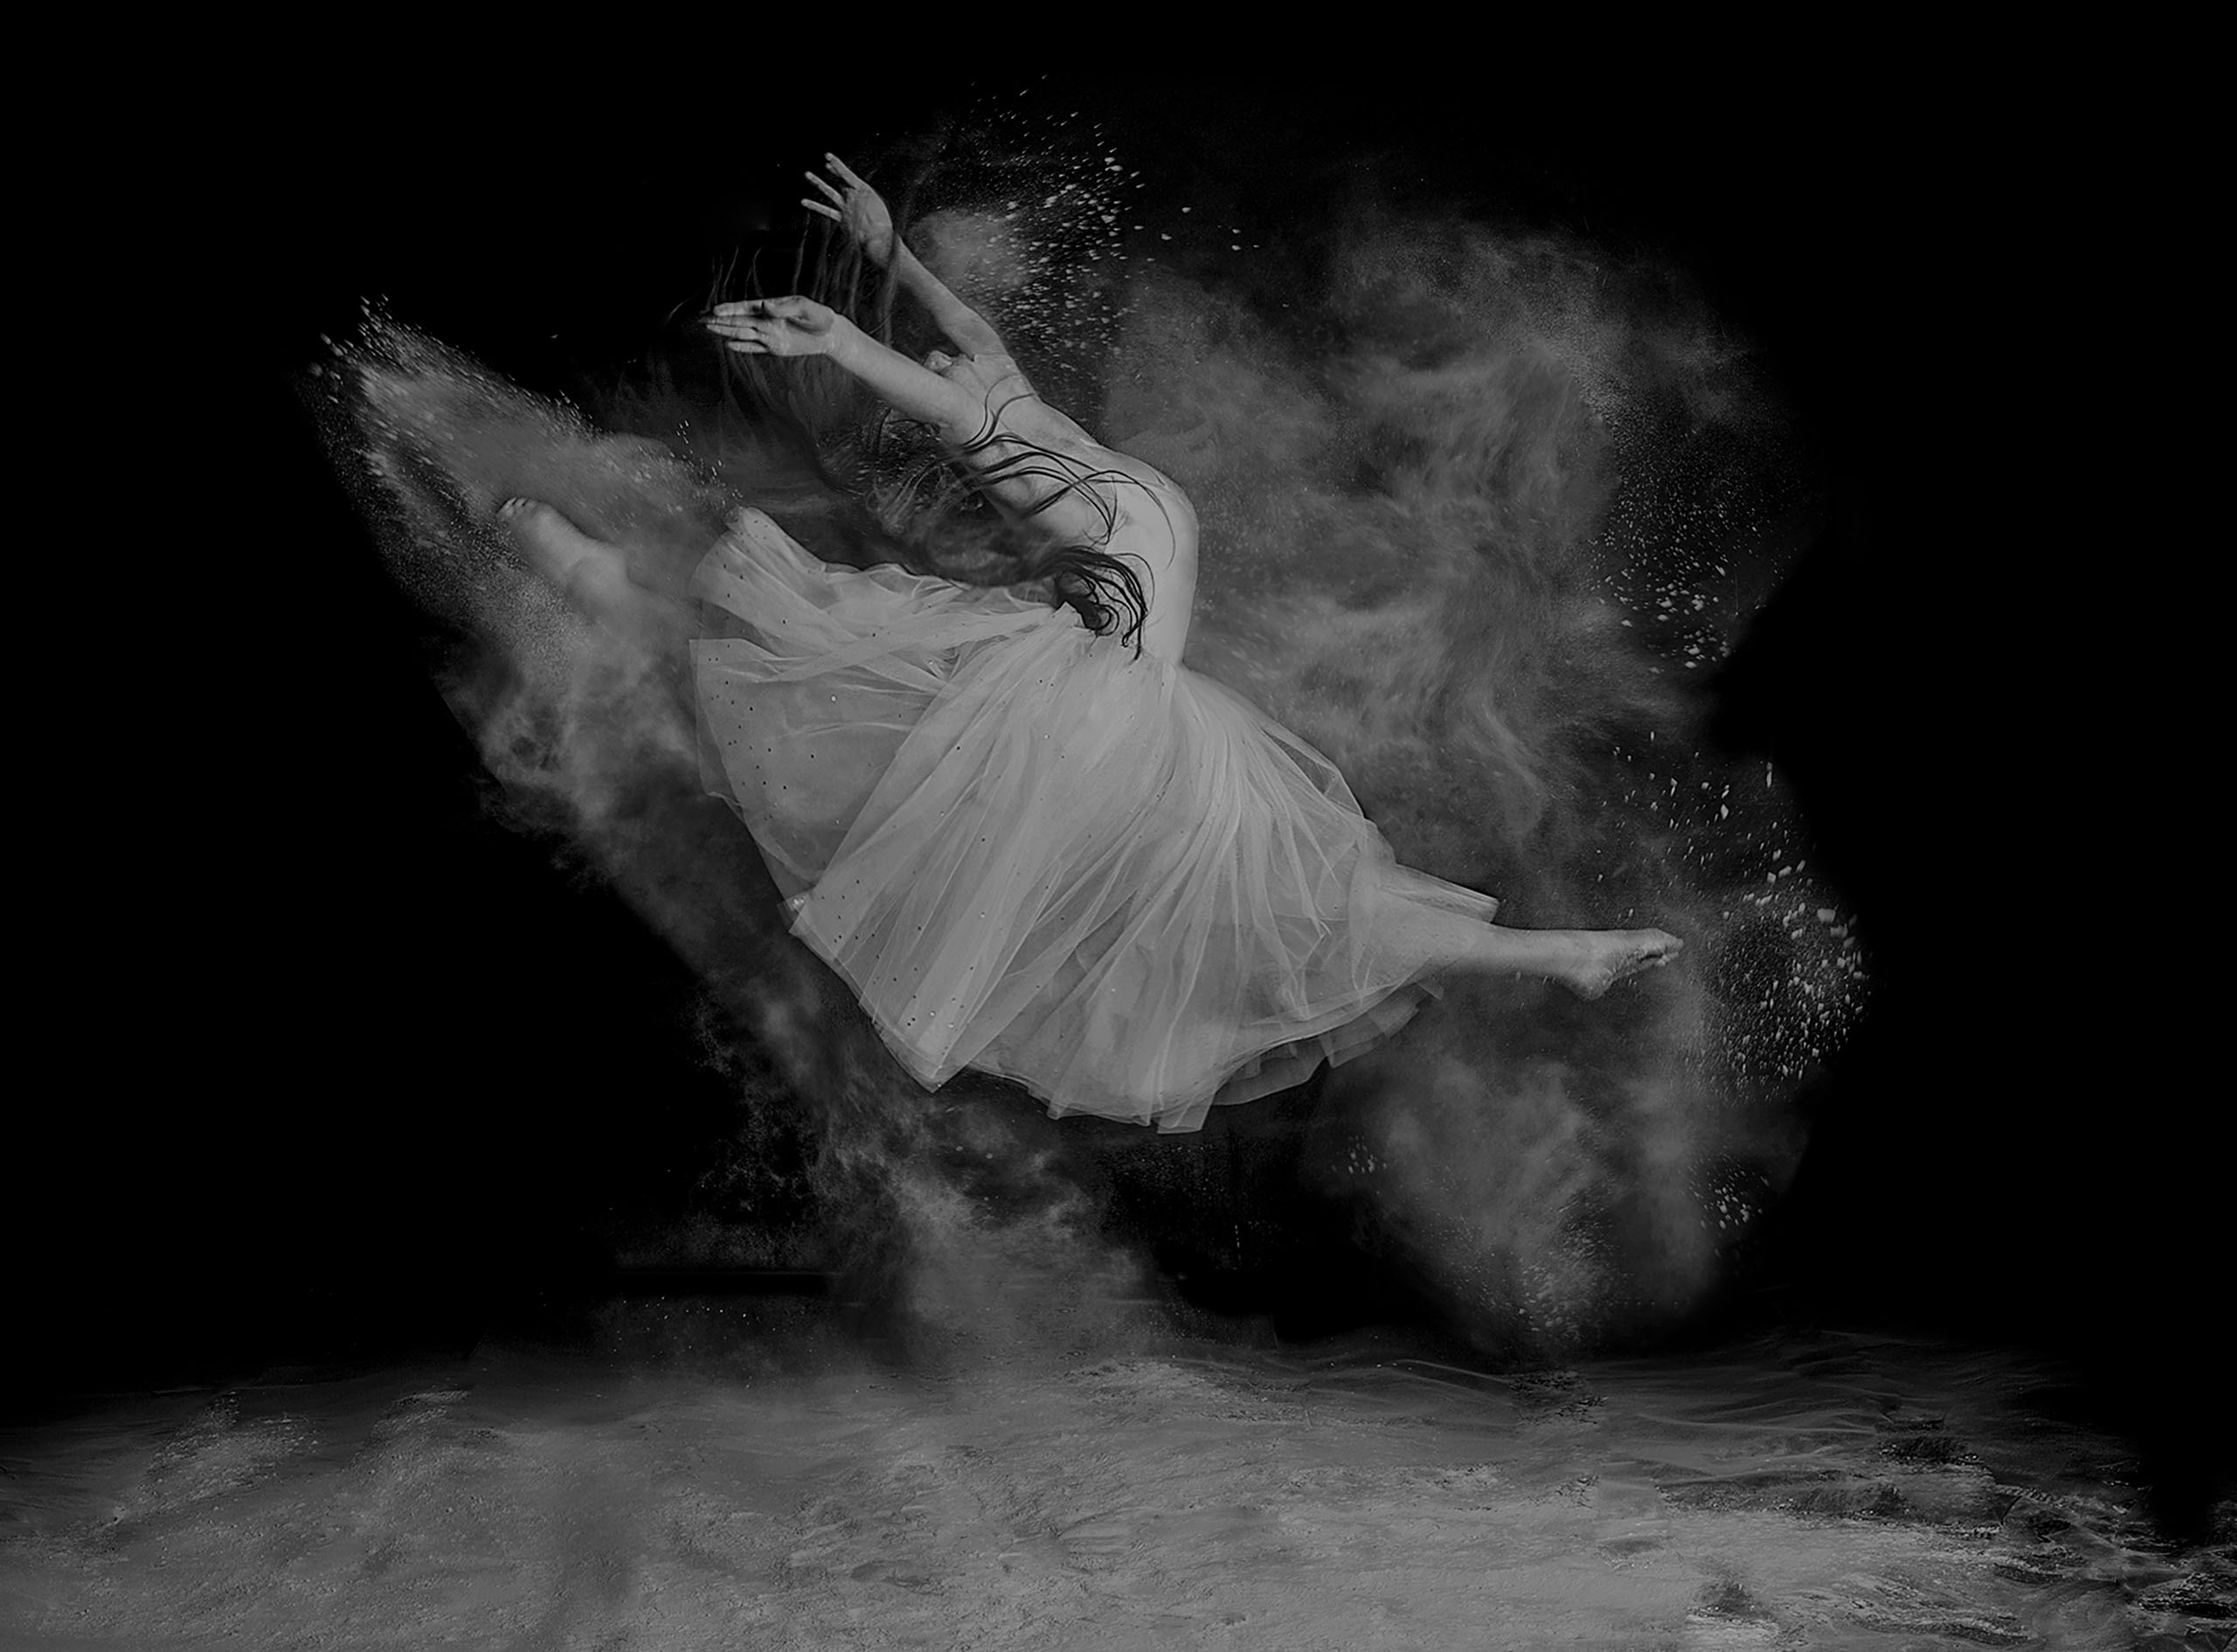
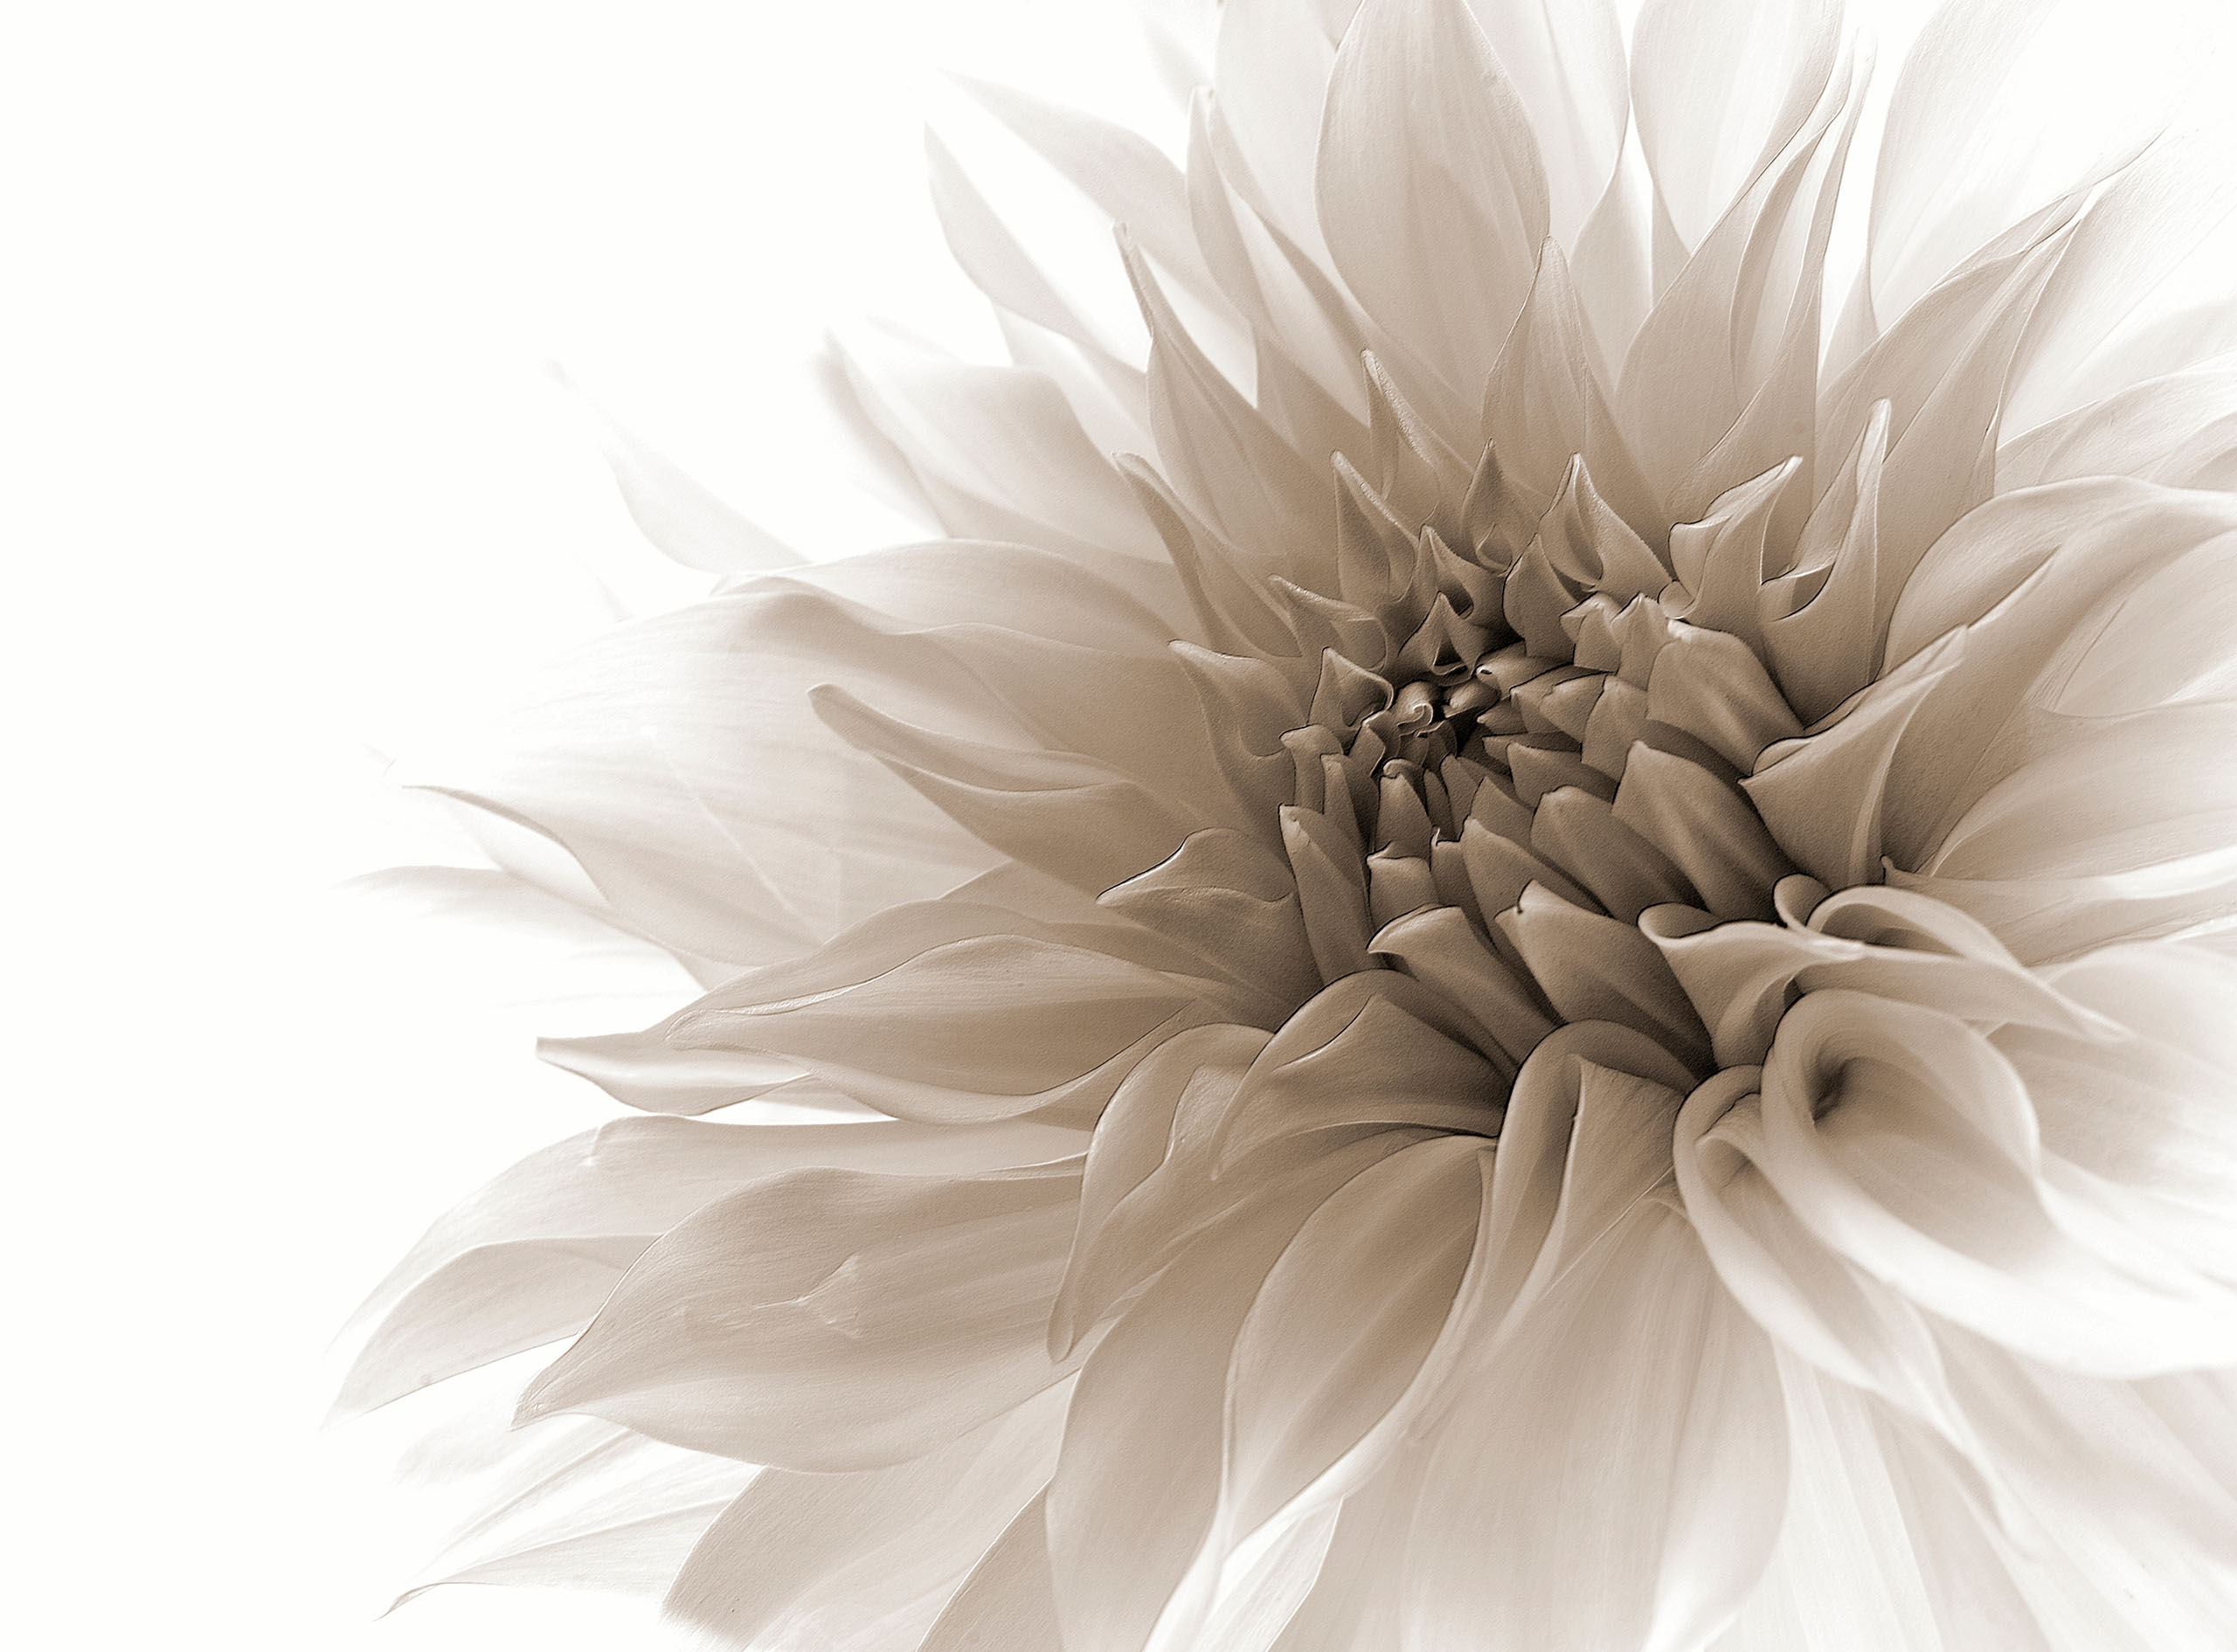
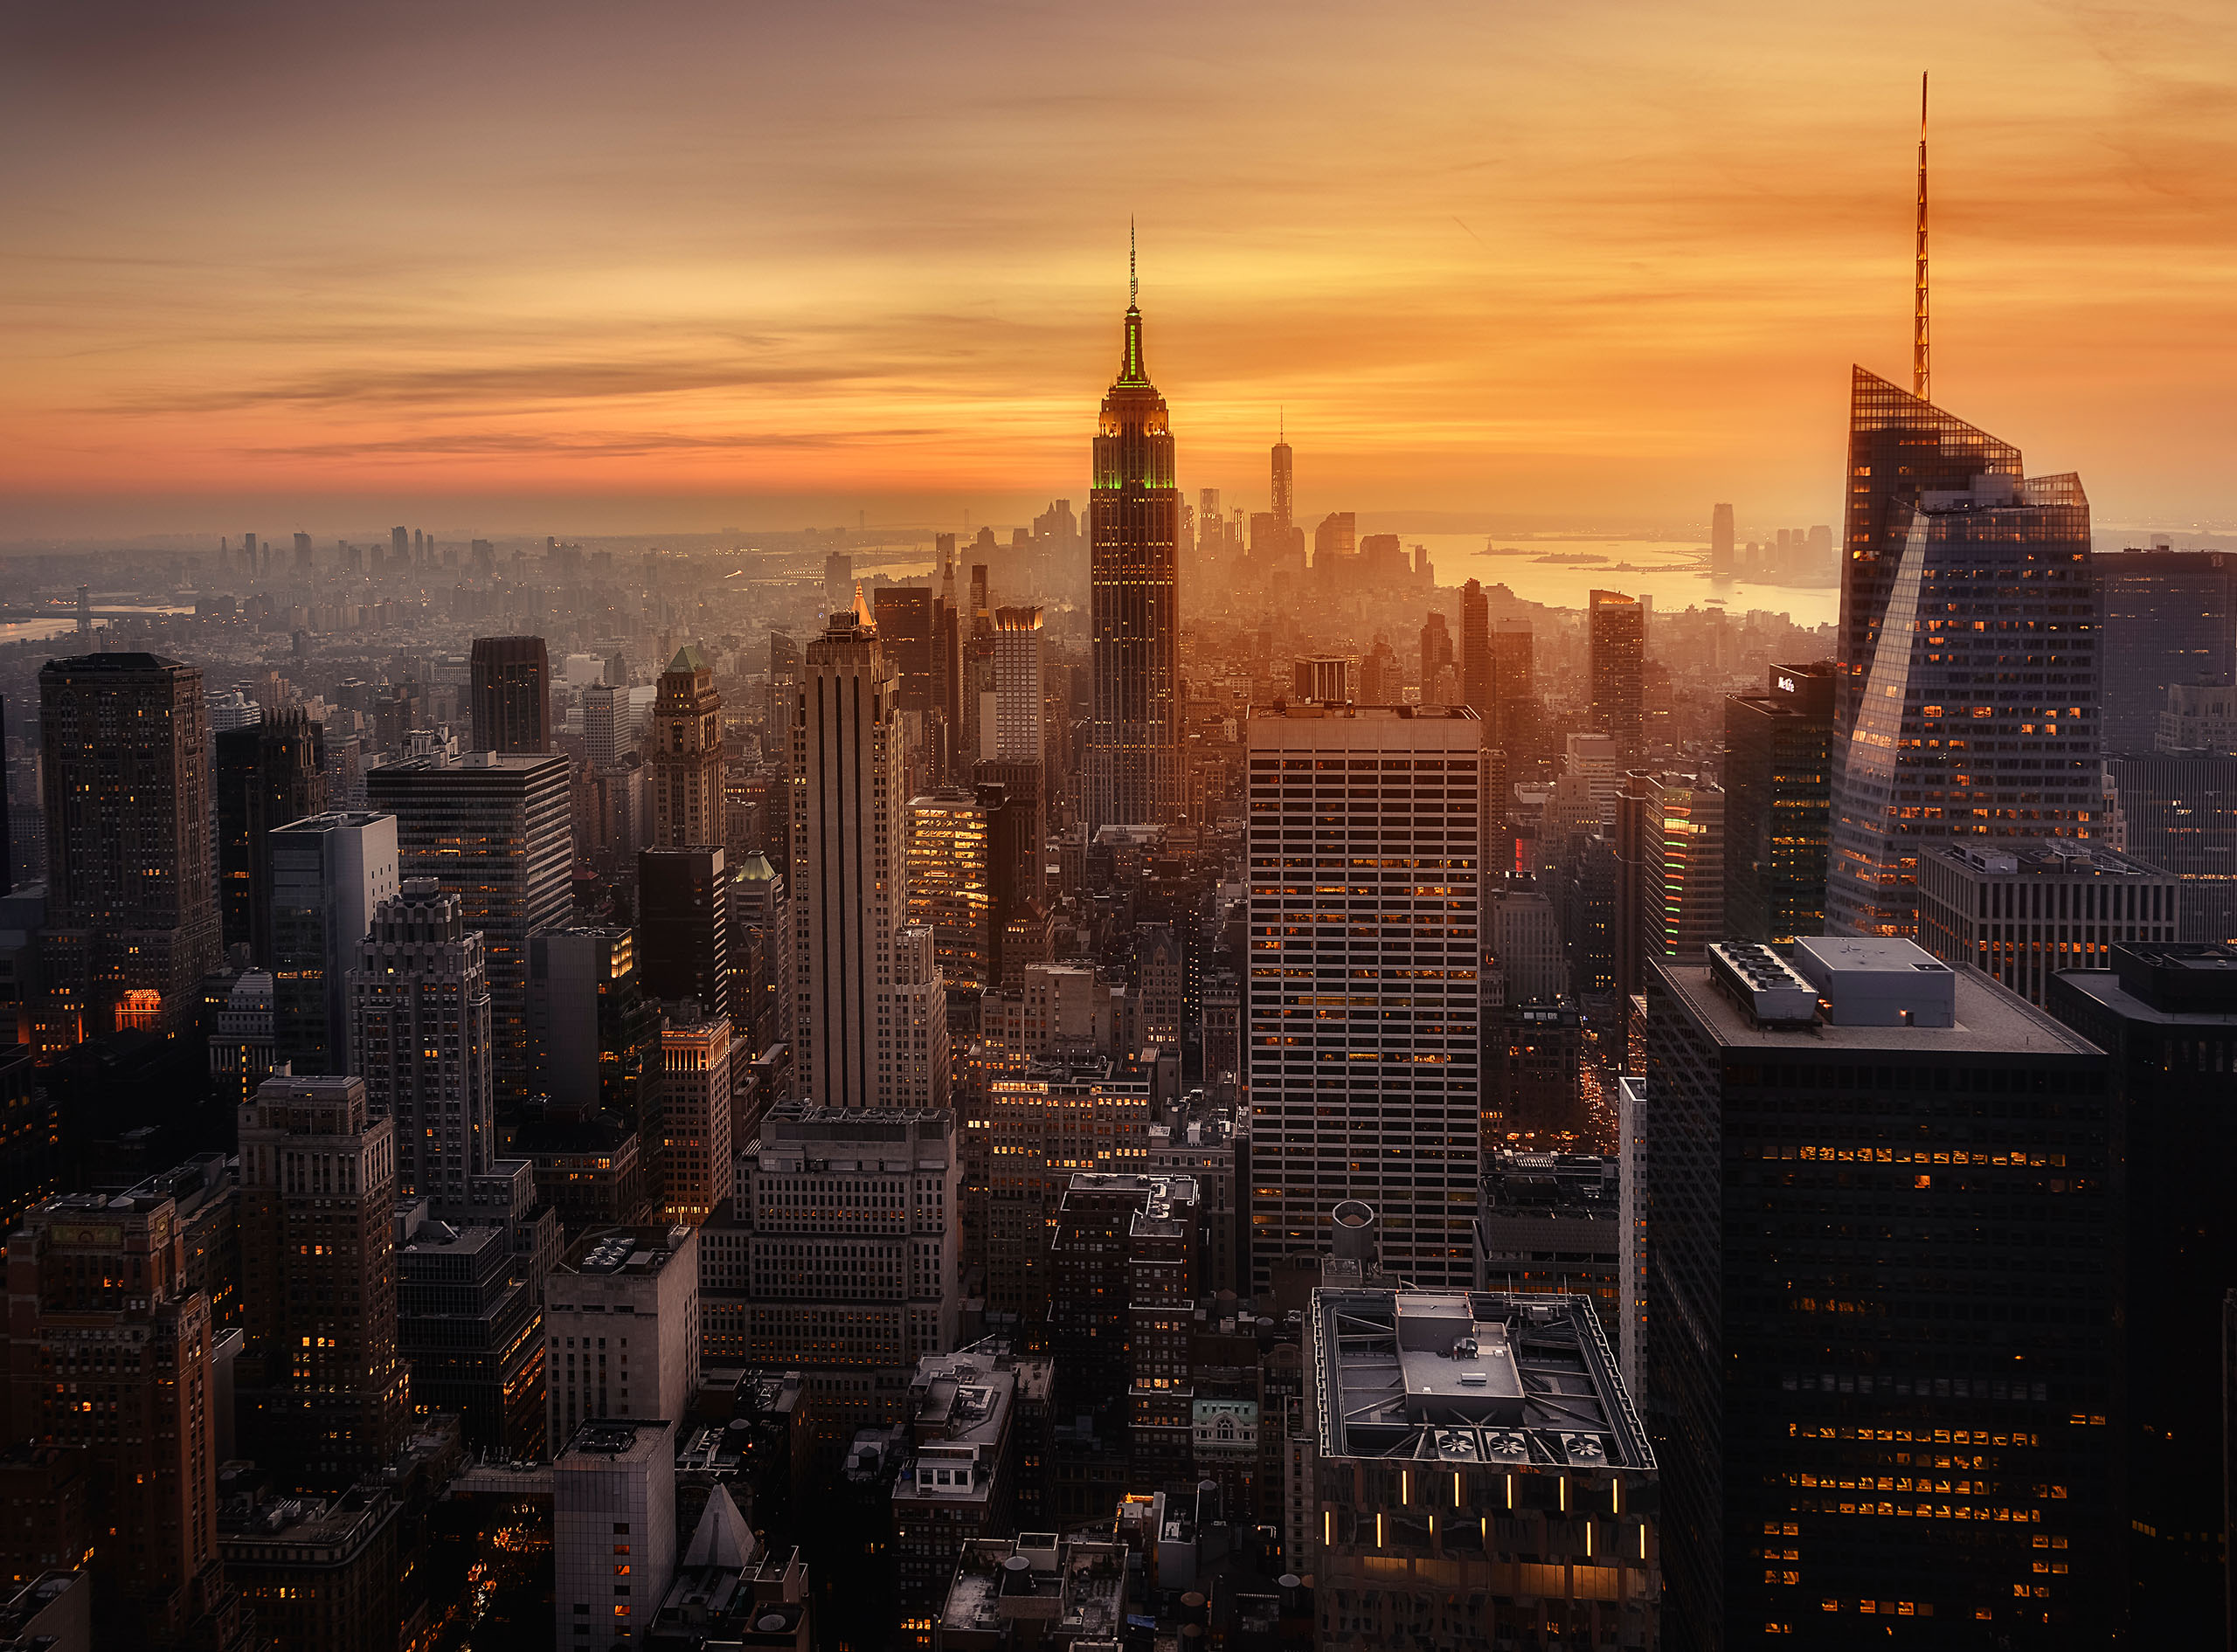
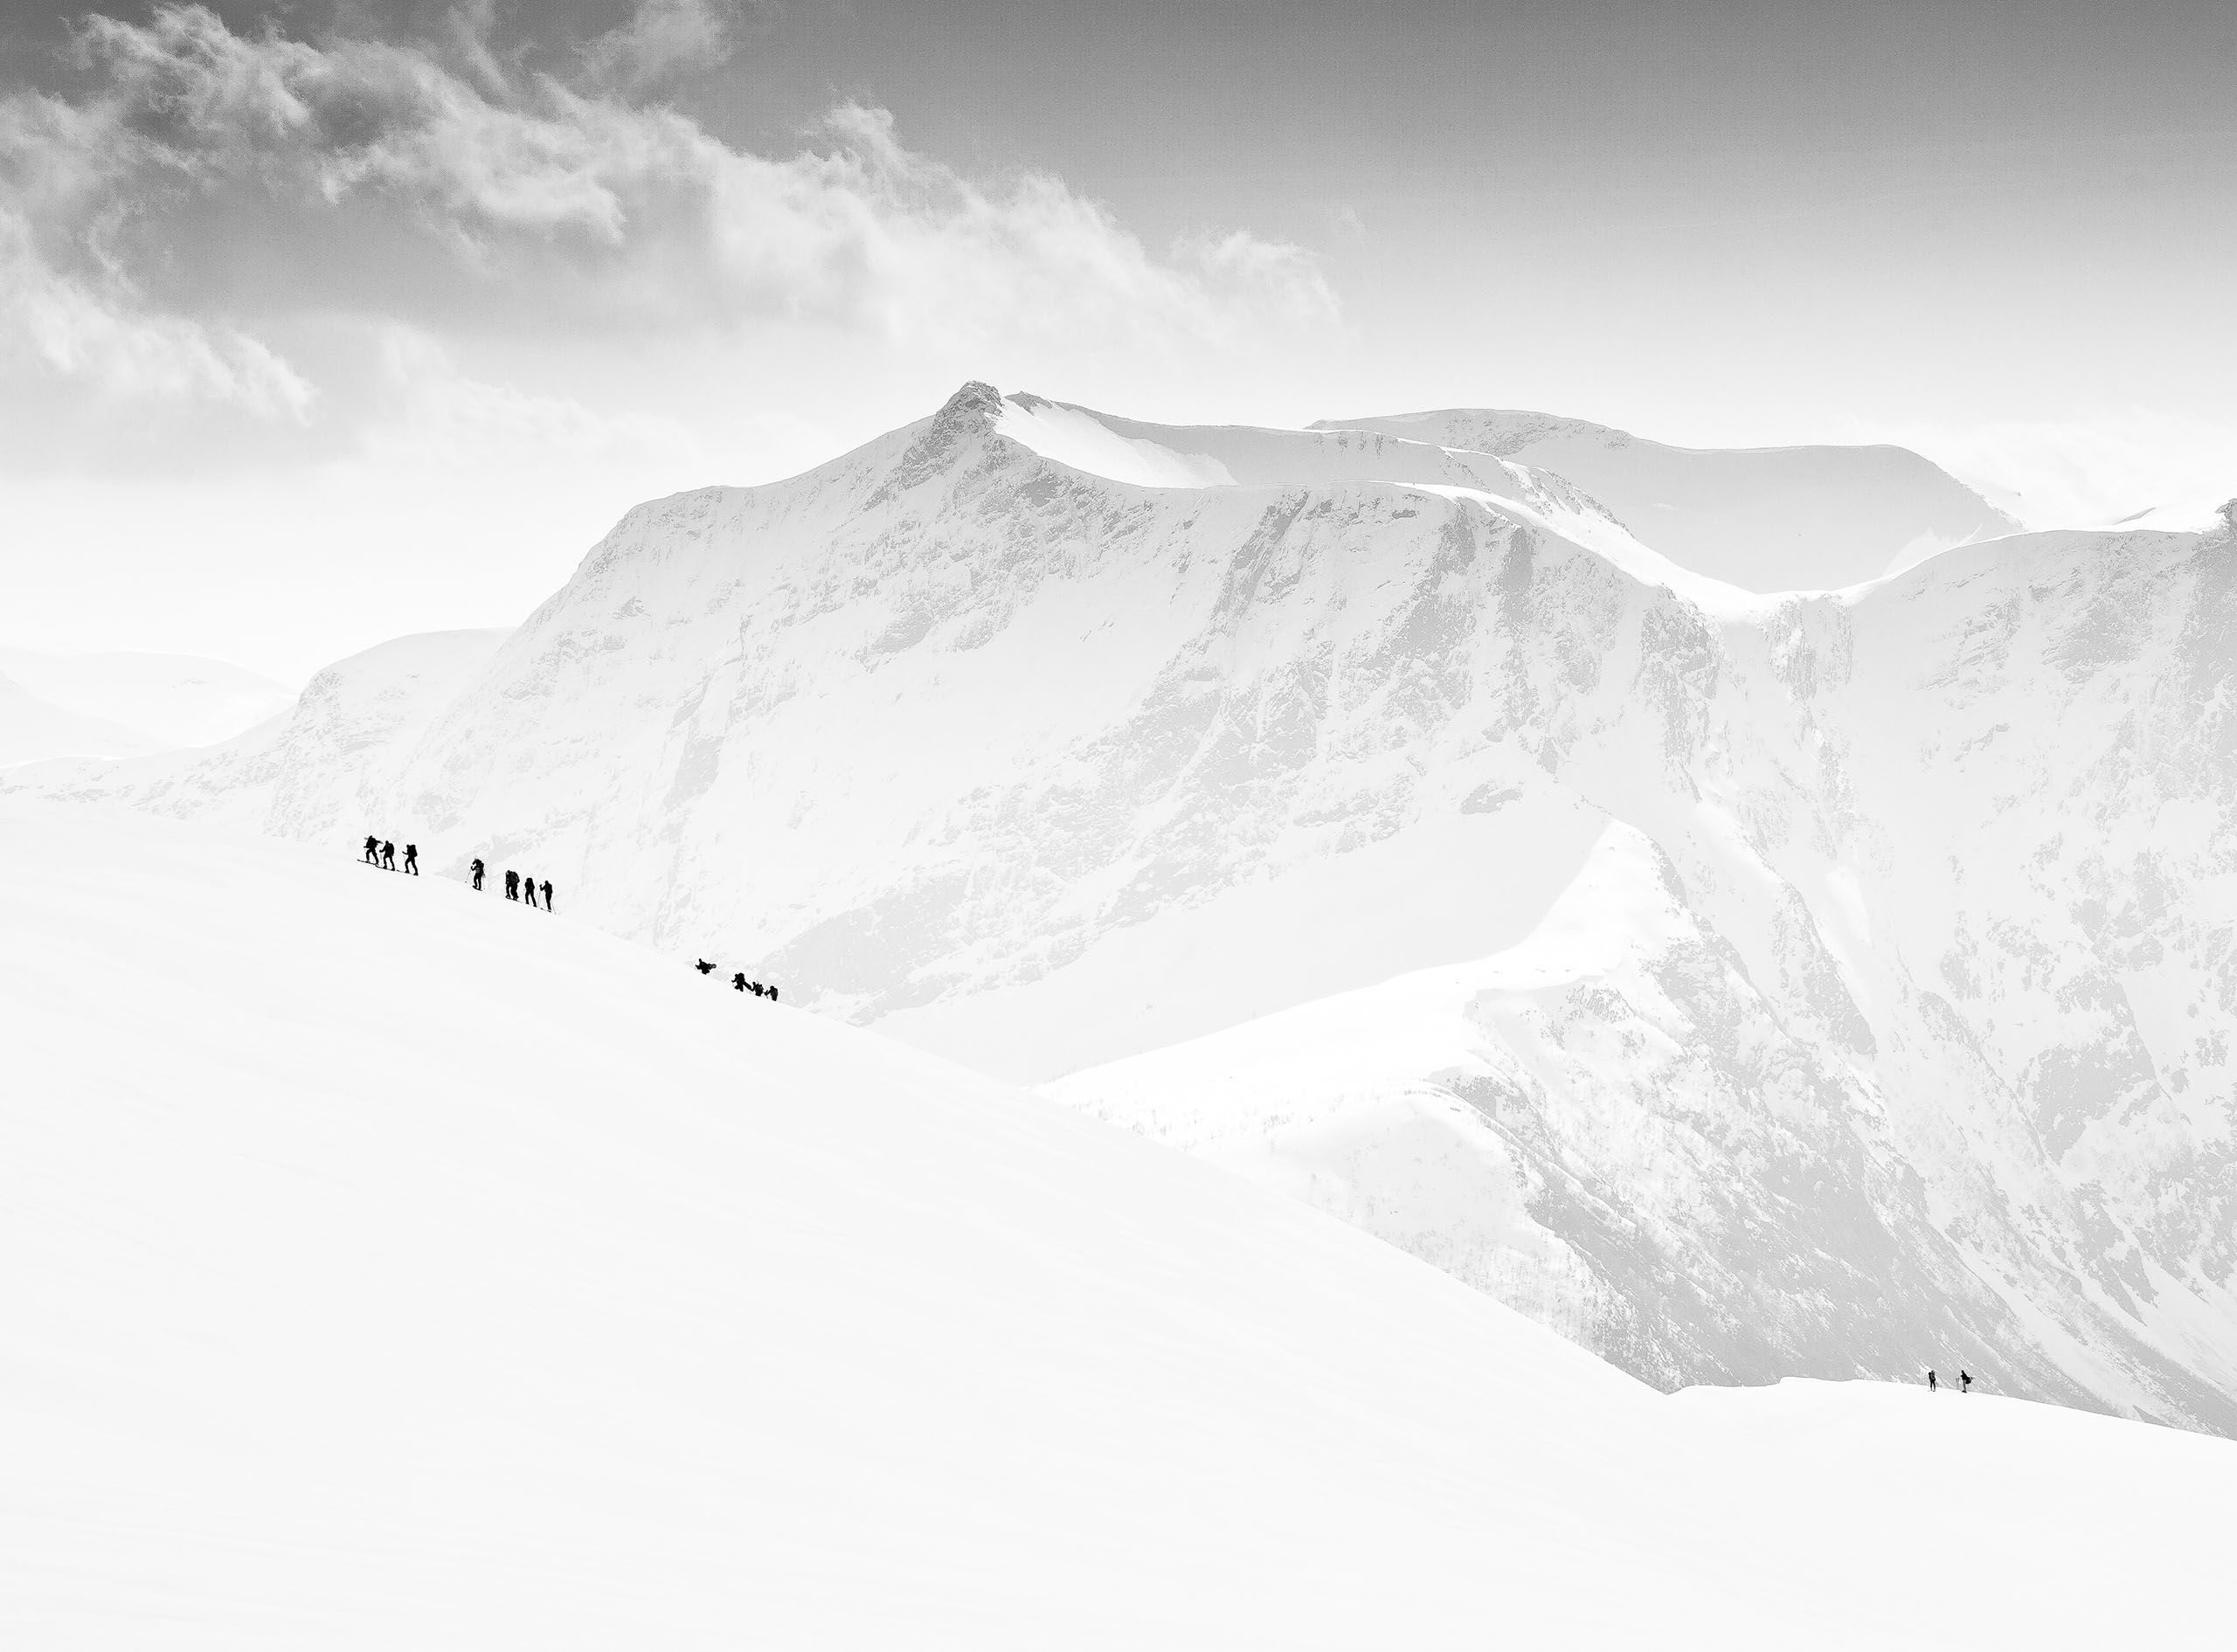
‘Continuity’
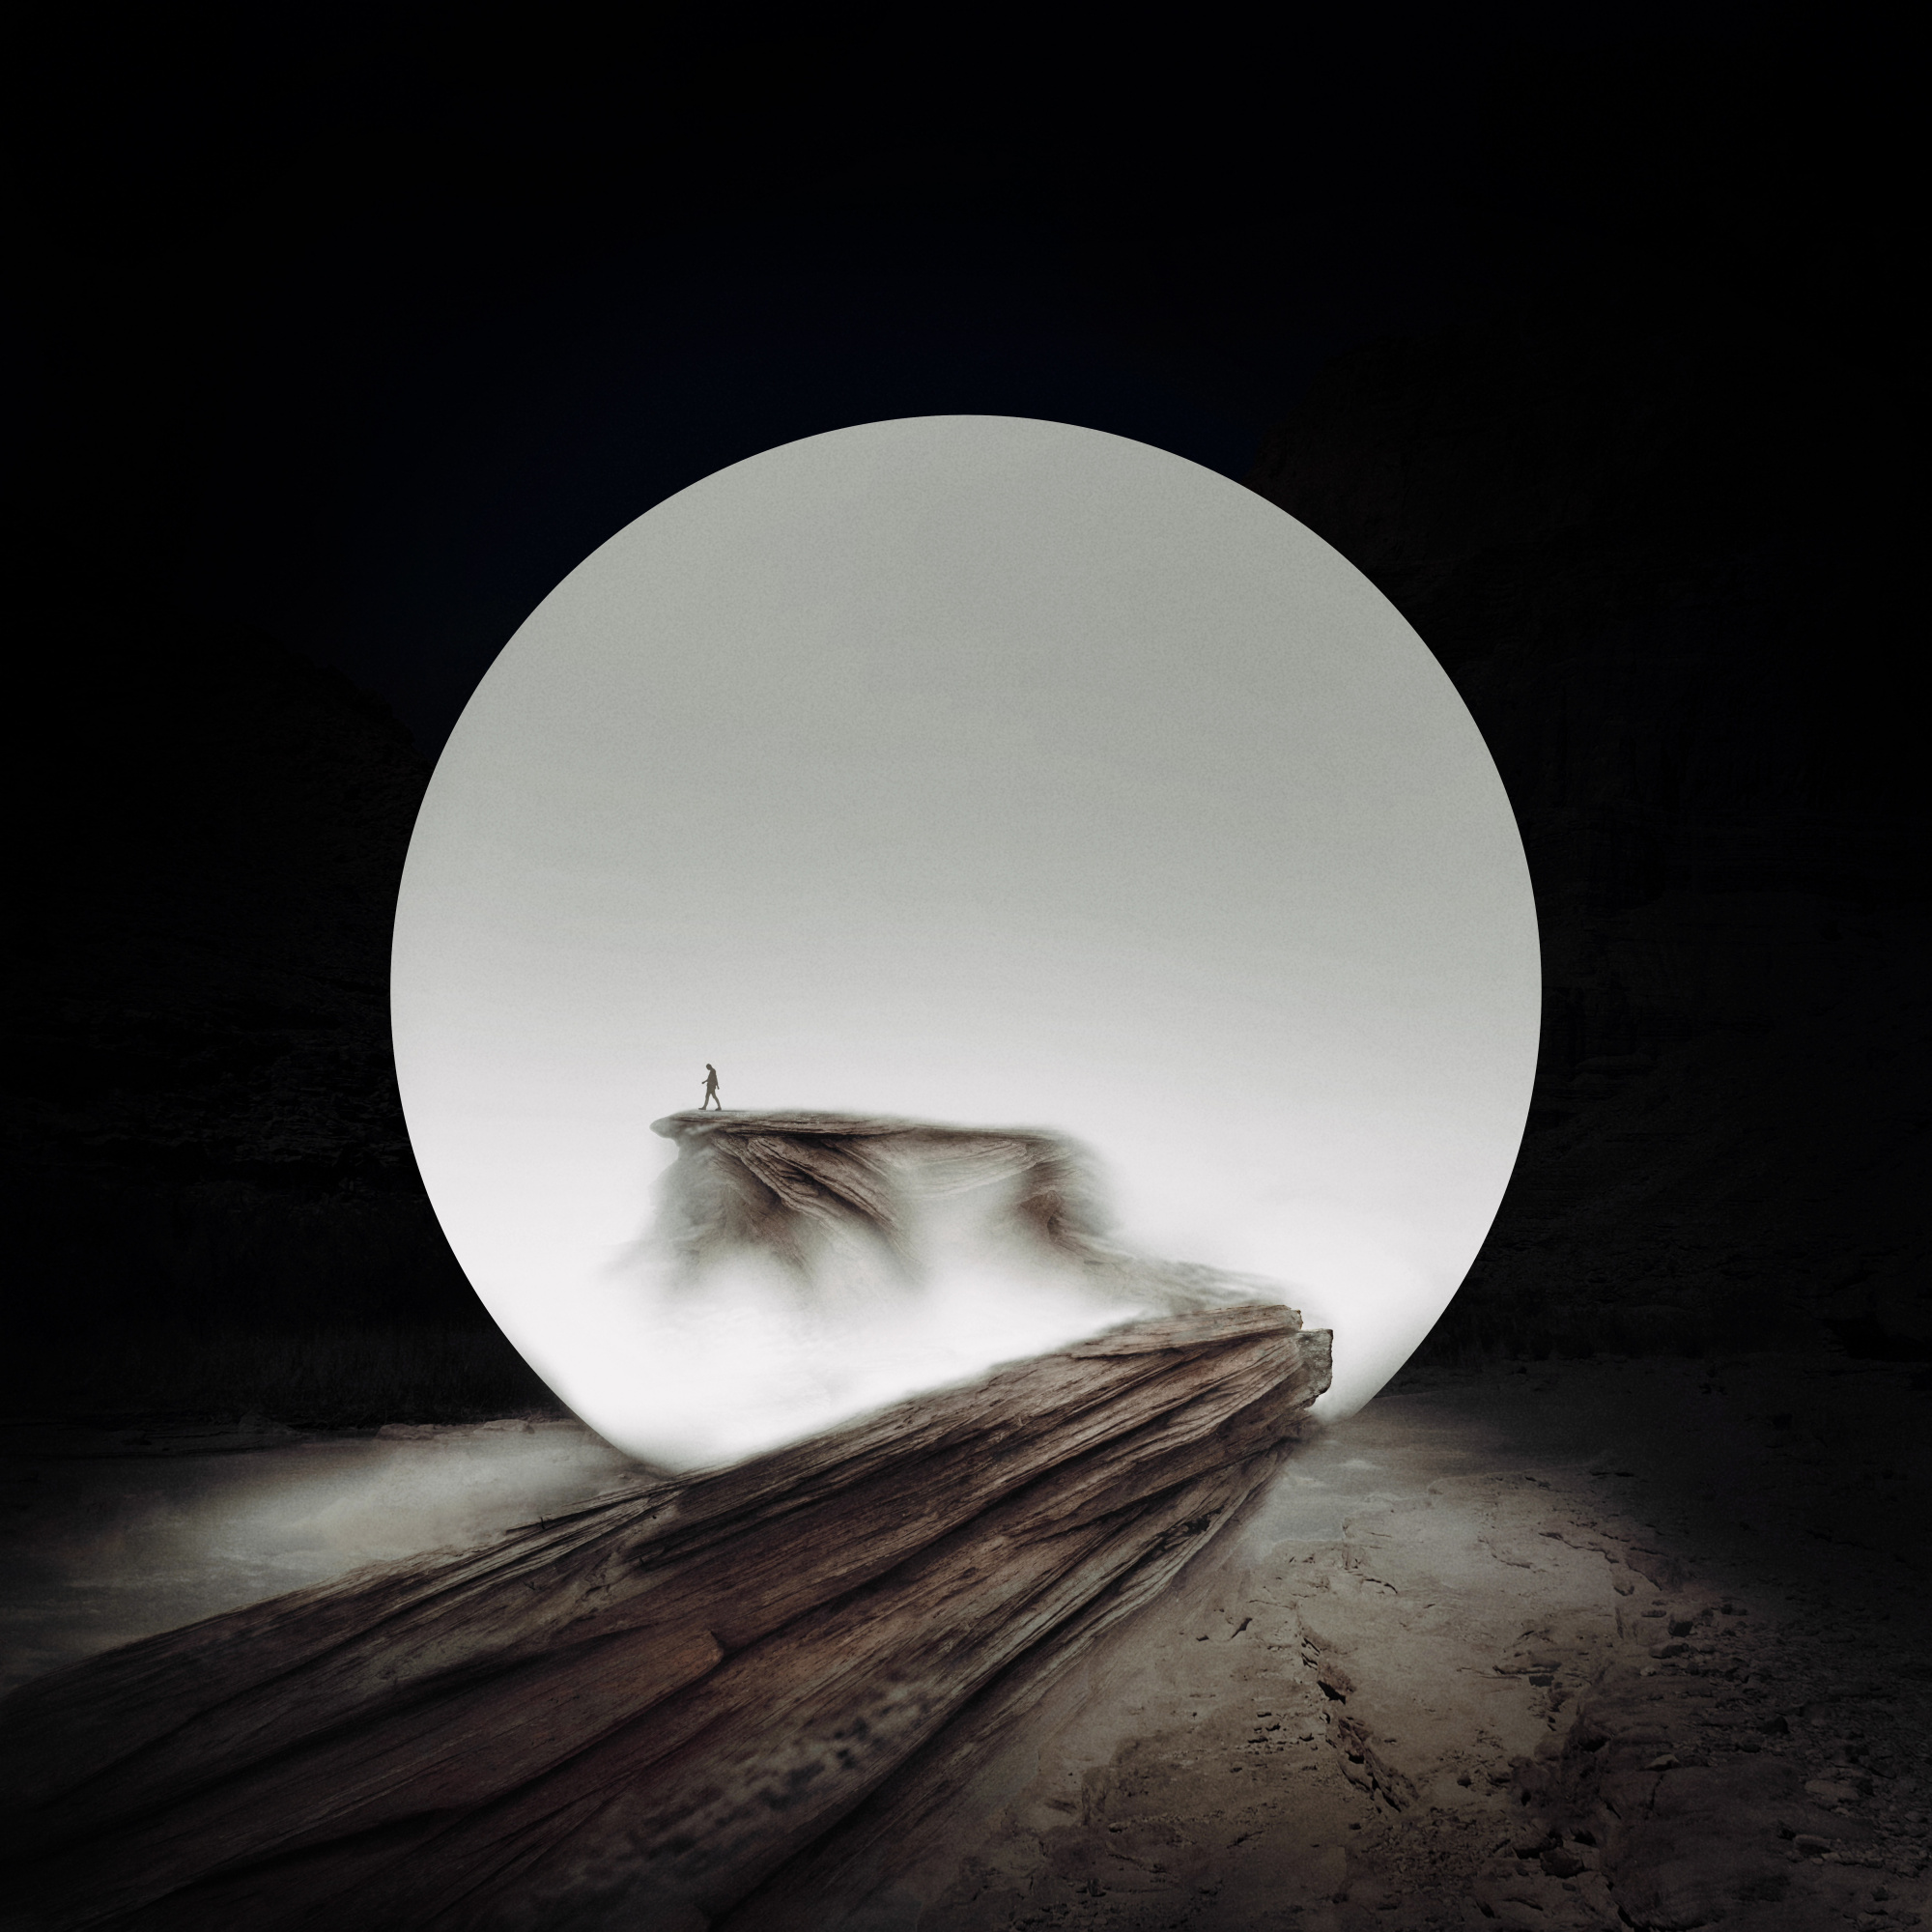
‘Passing’
What is the deciding factor – colour or black and white?
The decision to present an image in colour or black and white is usually made at the start of the creative process. Depending on the message I want to convey, the mood I want to create and the simplicity I am aiming for, I often have a clear vision of the final colour palette before I start.
Having said that, there have been times when, after finishing a colour image, I have found myself equally drawn to its black-and-white version. These situations can be challenging because both versions can express the same idea in different yet equally compelling ways. As with every artist, I want to present the strongest possible version of my work, but ultimately, the final decision comes down to intuition — choosing the version that feels most authentic and right emotionally.
Most of the time, I start with a clear mental image of what I want to create. At the same time, I always remain open to unexpected creative changes during the process. I believe creativity should flow naturally and I never want to limit where it might lead.
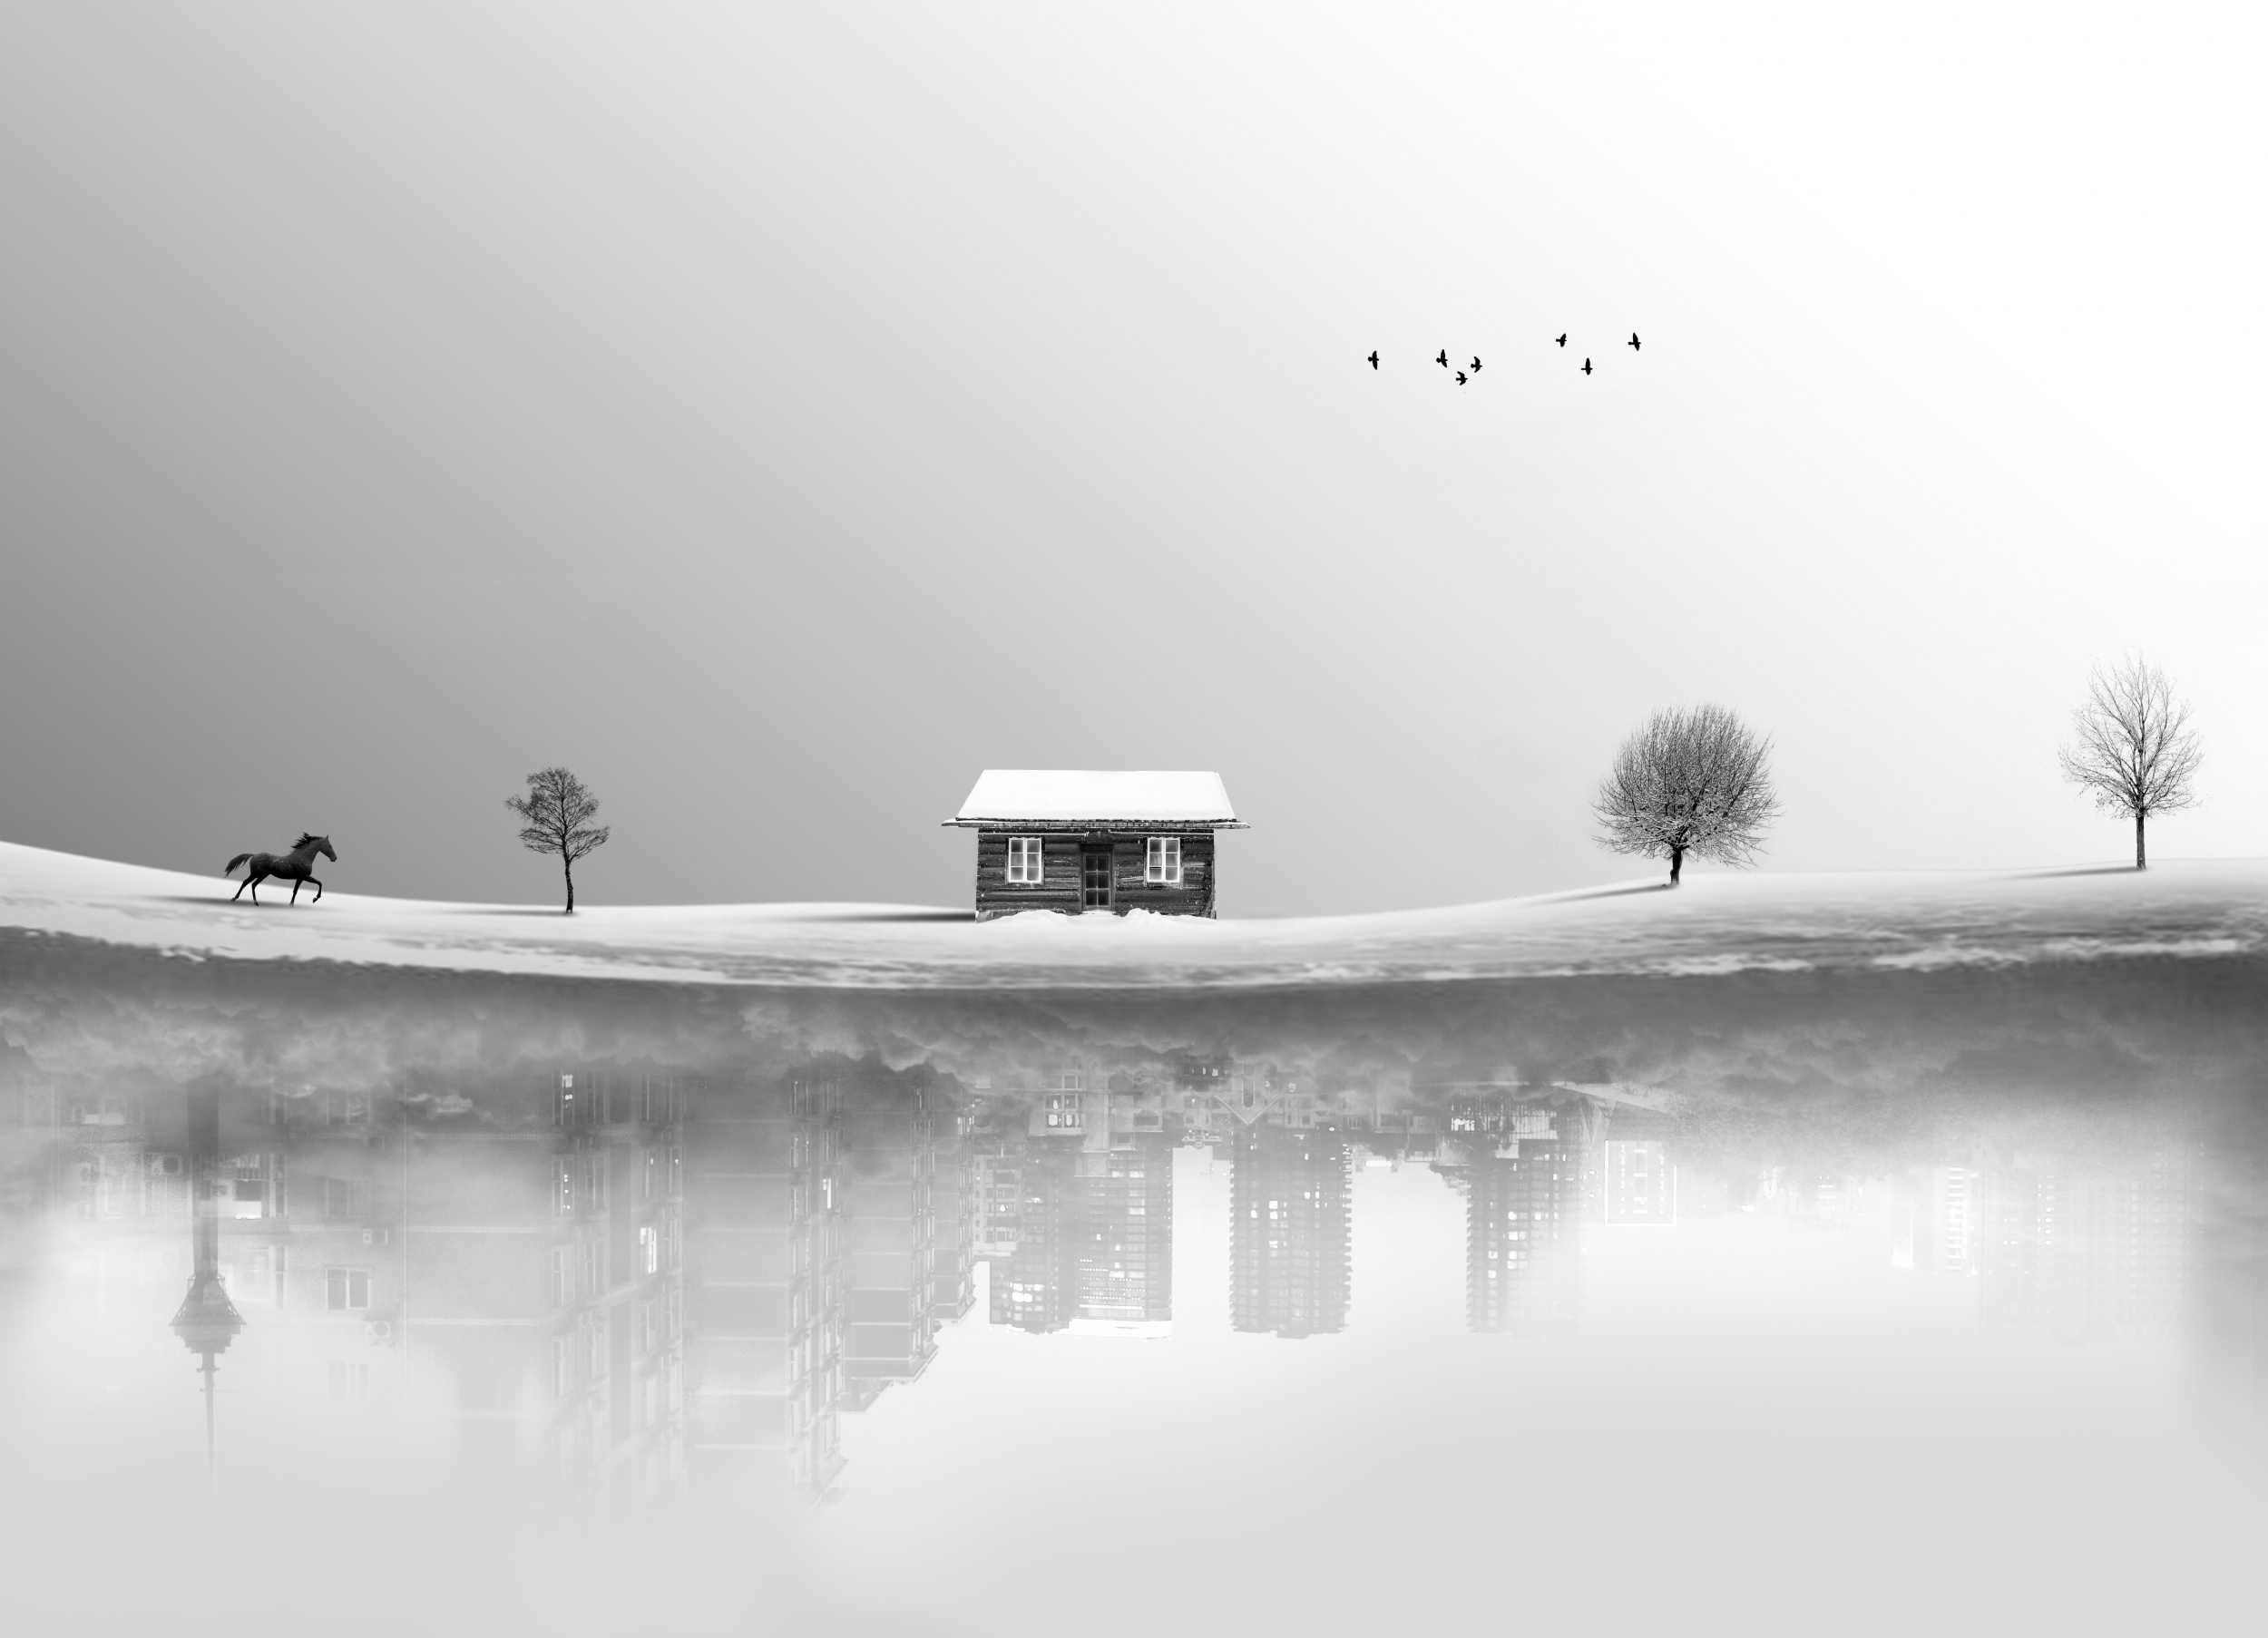
‘Endless beginning’
How do you know when a photograph is finished?
This is one of the most challenging stages of the creative process. I stop working on an image when I feel that I have added or removed everything necessary, and that every element has a purpose and the image can communicate its meaning without words. At the same time, I never expect viewers to interpret my work exactly as I do. If an image encourages someone to pause, reflect or experience something personal, it has already fulfilled its purpose.
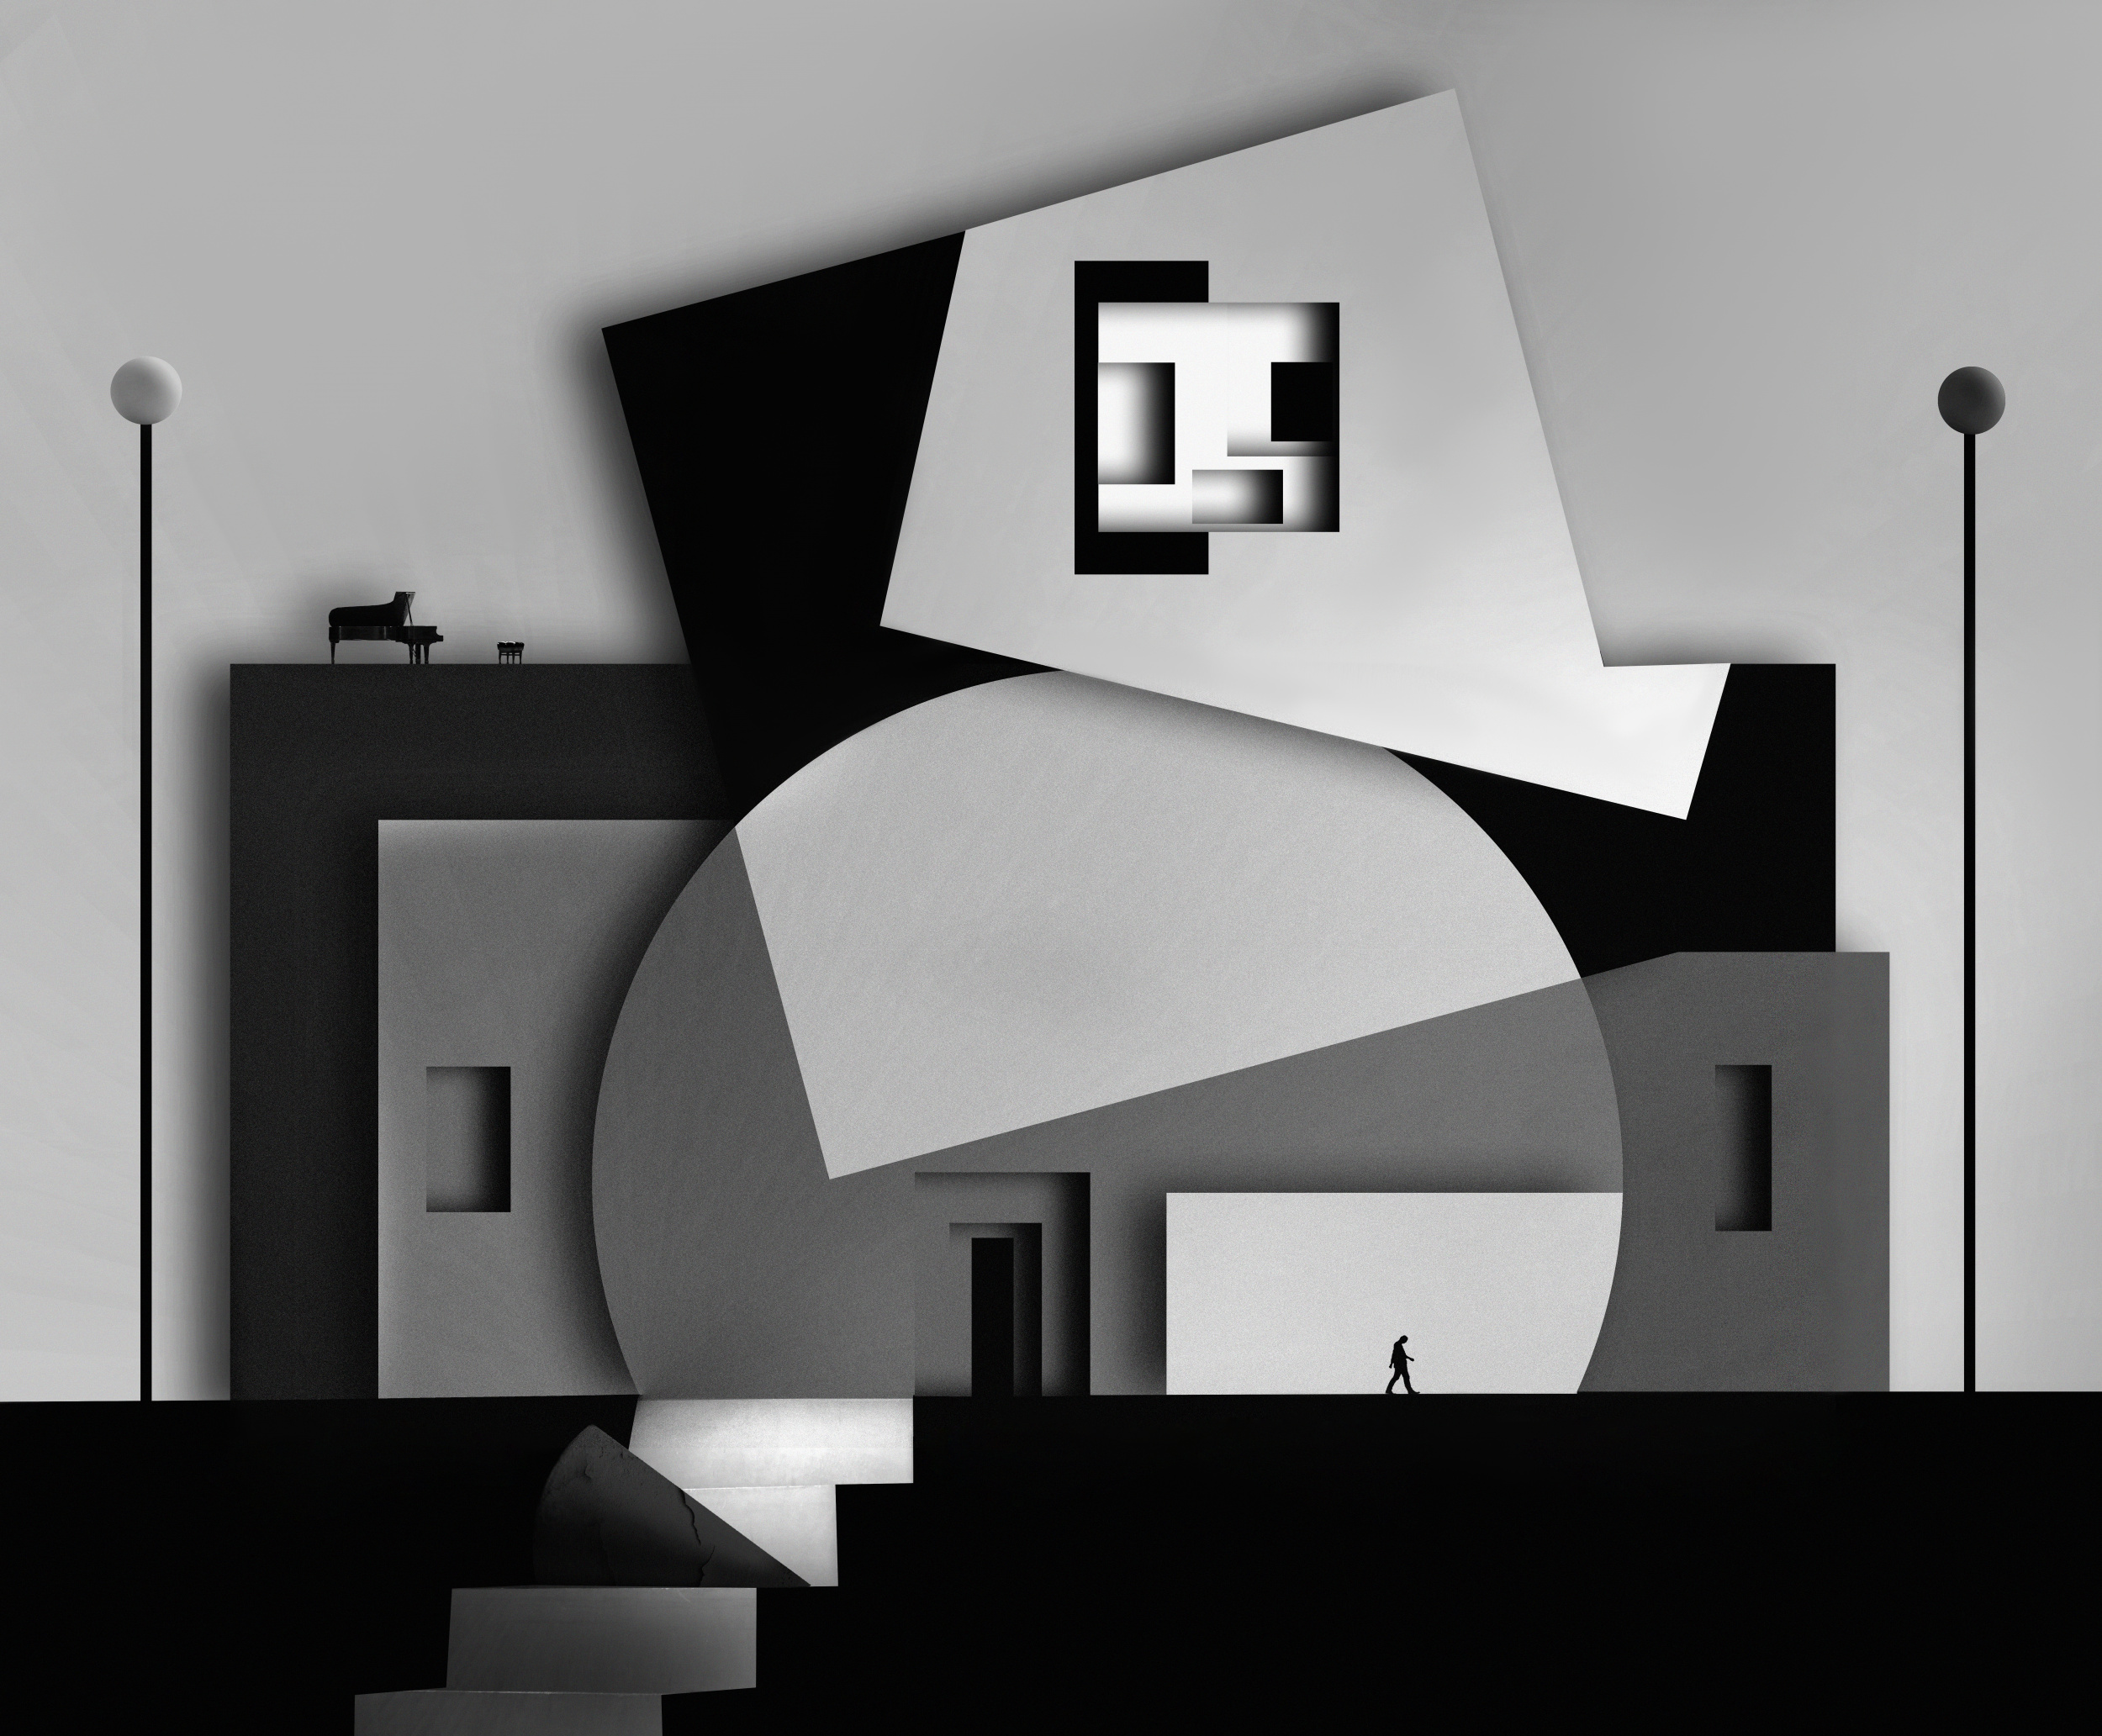
‘Home’
BIOGRAPHY
My name is Hadi Malijani. Although my family name is actually Malenjani, I am professionally known as Hadi Malijani. I was born in 1989 and began creating artworks in 2007, when I was eighteen. Of all the artistic paths I have explored, it is fine art and conceptual photography that have opened the door to an extraordinary world for me. It is a world in which I truly enjoy living — a creative space that continually inspires, challenges and helps me to grow, both as an artist and as a person. For me, photography is both a profession and a passion, so I no longer distinguish between work and a hobby. Photography is the main focus of my life — I earn my living through it, and I genuinely enjoy every part of the process. As well as fine art and conceptual photography, I work as a wedding photographer.
 | Write |
 | DonnaHom APA PRO Great step-by-step demonstration. I will follow this post process and try myself. Thank you for sharing your technics. |
| | DonnaHom APA PRO Great step-by-step demonstration. I will follow this post process and try myself. Thank you for sharing your technics. |
 | Wanghan Li PRO Excellent article which inspires! Thanks for sharing! |
 | Petar Boskovski Very inspiring... |
 | Angelika Vogel PRO A wonderful article and creative, impressive images! Thank you so very much as well dear Yvette and Michel! |
 | Susi PRO Thank you so much for sharing this tutorial, your work is always creative and inspiring. |
 | Yang Jiao PRO Amazing work! Thank you so much for sharing your creative editing process. It’s truly inspiring |
 | kombizz PRO Salaam Hadi jon, I congratulate your hard workings in the art of photography. |
 | Jane Lyons CREW Thank you Hadi and Michel for sharing this with us. |
 | Cicek Kiral CREW Impressive…Congratulations...
. |
 | Eiji Yamamoto PRO A truly wonderful article! Dear Hadi, thank you so much for sharing your techniques! It is very creative and inspiring! Thank you so much as well, dear Michel and dear Yvette! |
 | Roland Weber PRO Cool. Wonderfull, inspirative and outstanding pictures. Great ideas and visions. My congratulations, Hadi. |
 | Margaret Halaby PRO Wow. Wonderfully imaginative and creative. Thank you for sharing how you did this. |
 | Chris Hamilton PRO Great article promoting ideas for the viewers great insight to your processing talent. |
 | Jay Satriani PRO I’ve gained so much knowledge from this amazing article; I will continue to learn from great artists. Congratulations to Hadi—thank you for sharing your experience. Thanks also to Editor Michel and my dear old friend Yvette. Best regards to everyone. |
 | Filiberto Galli PRO The process is truly compelling and creative, a stimuli for personal inspiration. Outcome is fine and incredibly effective. Nonetheless, I still wonder whether this is still photography or, rather, brilliant illustration? |
 | yein PRO The artist’s post-processing technique based on conceptualization is impressive I feel like I’m seeing good inspiration |